• About
  • La Micaela Farm Shop

fincafood

~ culinary and horticultural life on a Spanish farm

Category Archives: Starters

An Autumn Lunch

12 Wednesday Nov 2014

Posted by Nevenka in Main Courses, Starters, Sweet Things, Vegetable Dishes

≈ Leave a comment

Tags

Beef, ceps, Cheese, Chilli, Grilled Vegetables, Honey, Meatballs, Orechiette, Pasta, Peppers, Sweet & Spicy Pepper Sauce, Tarragon, Walnuts

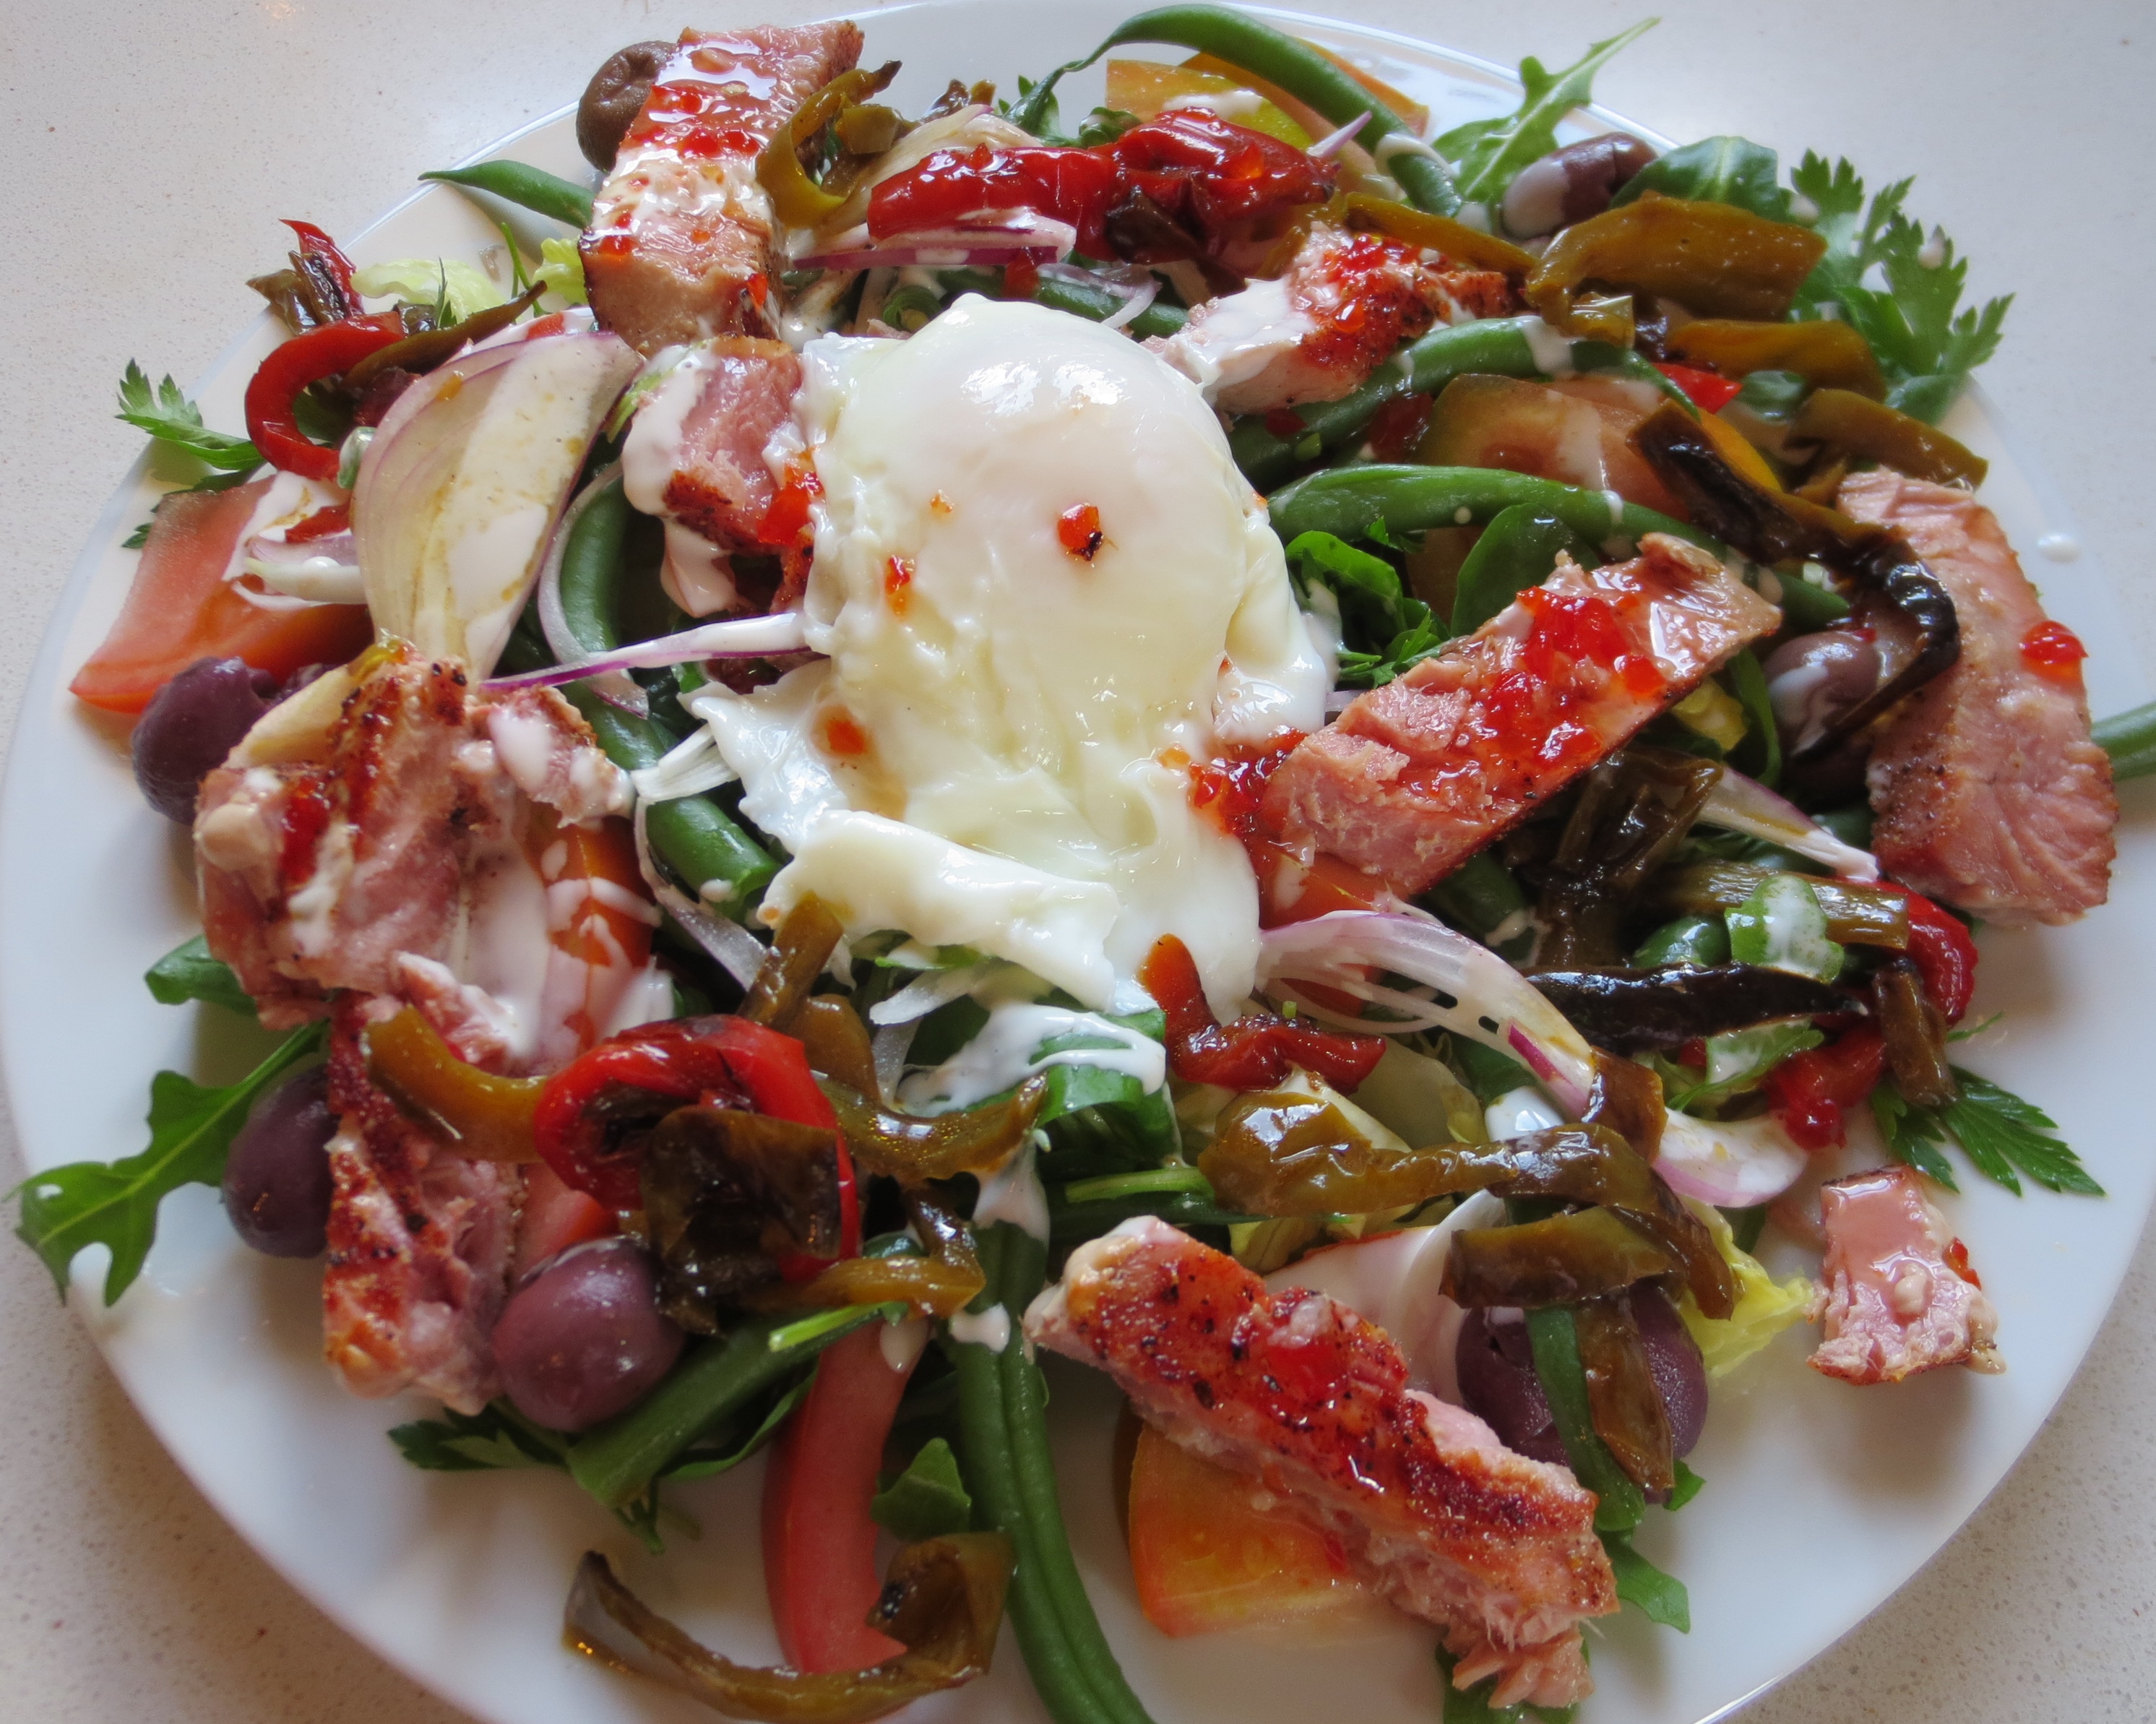
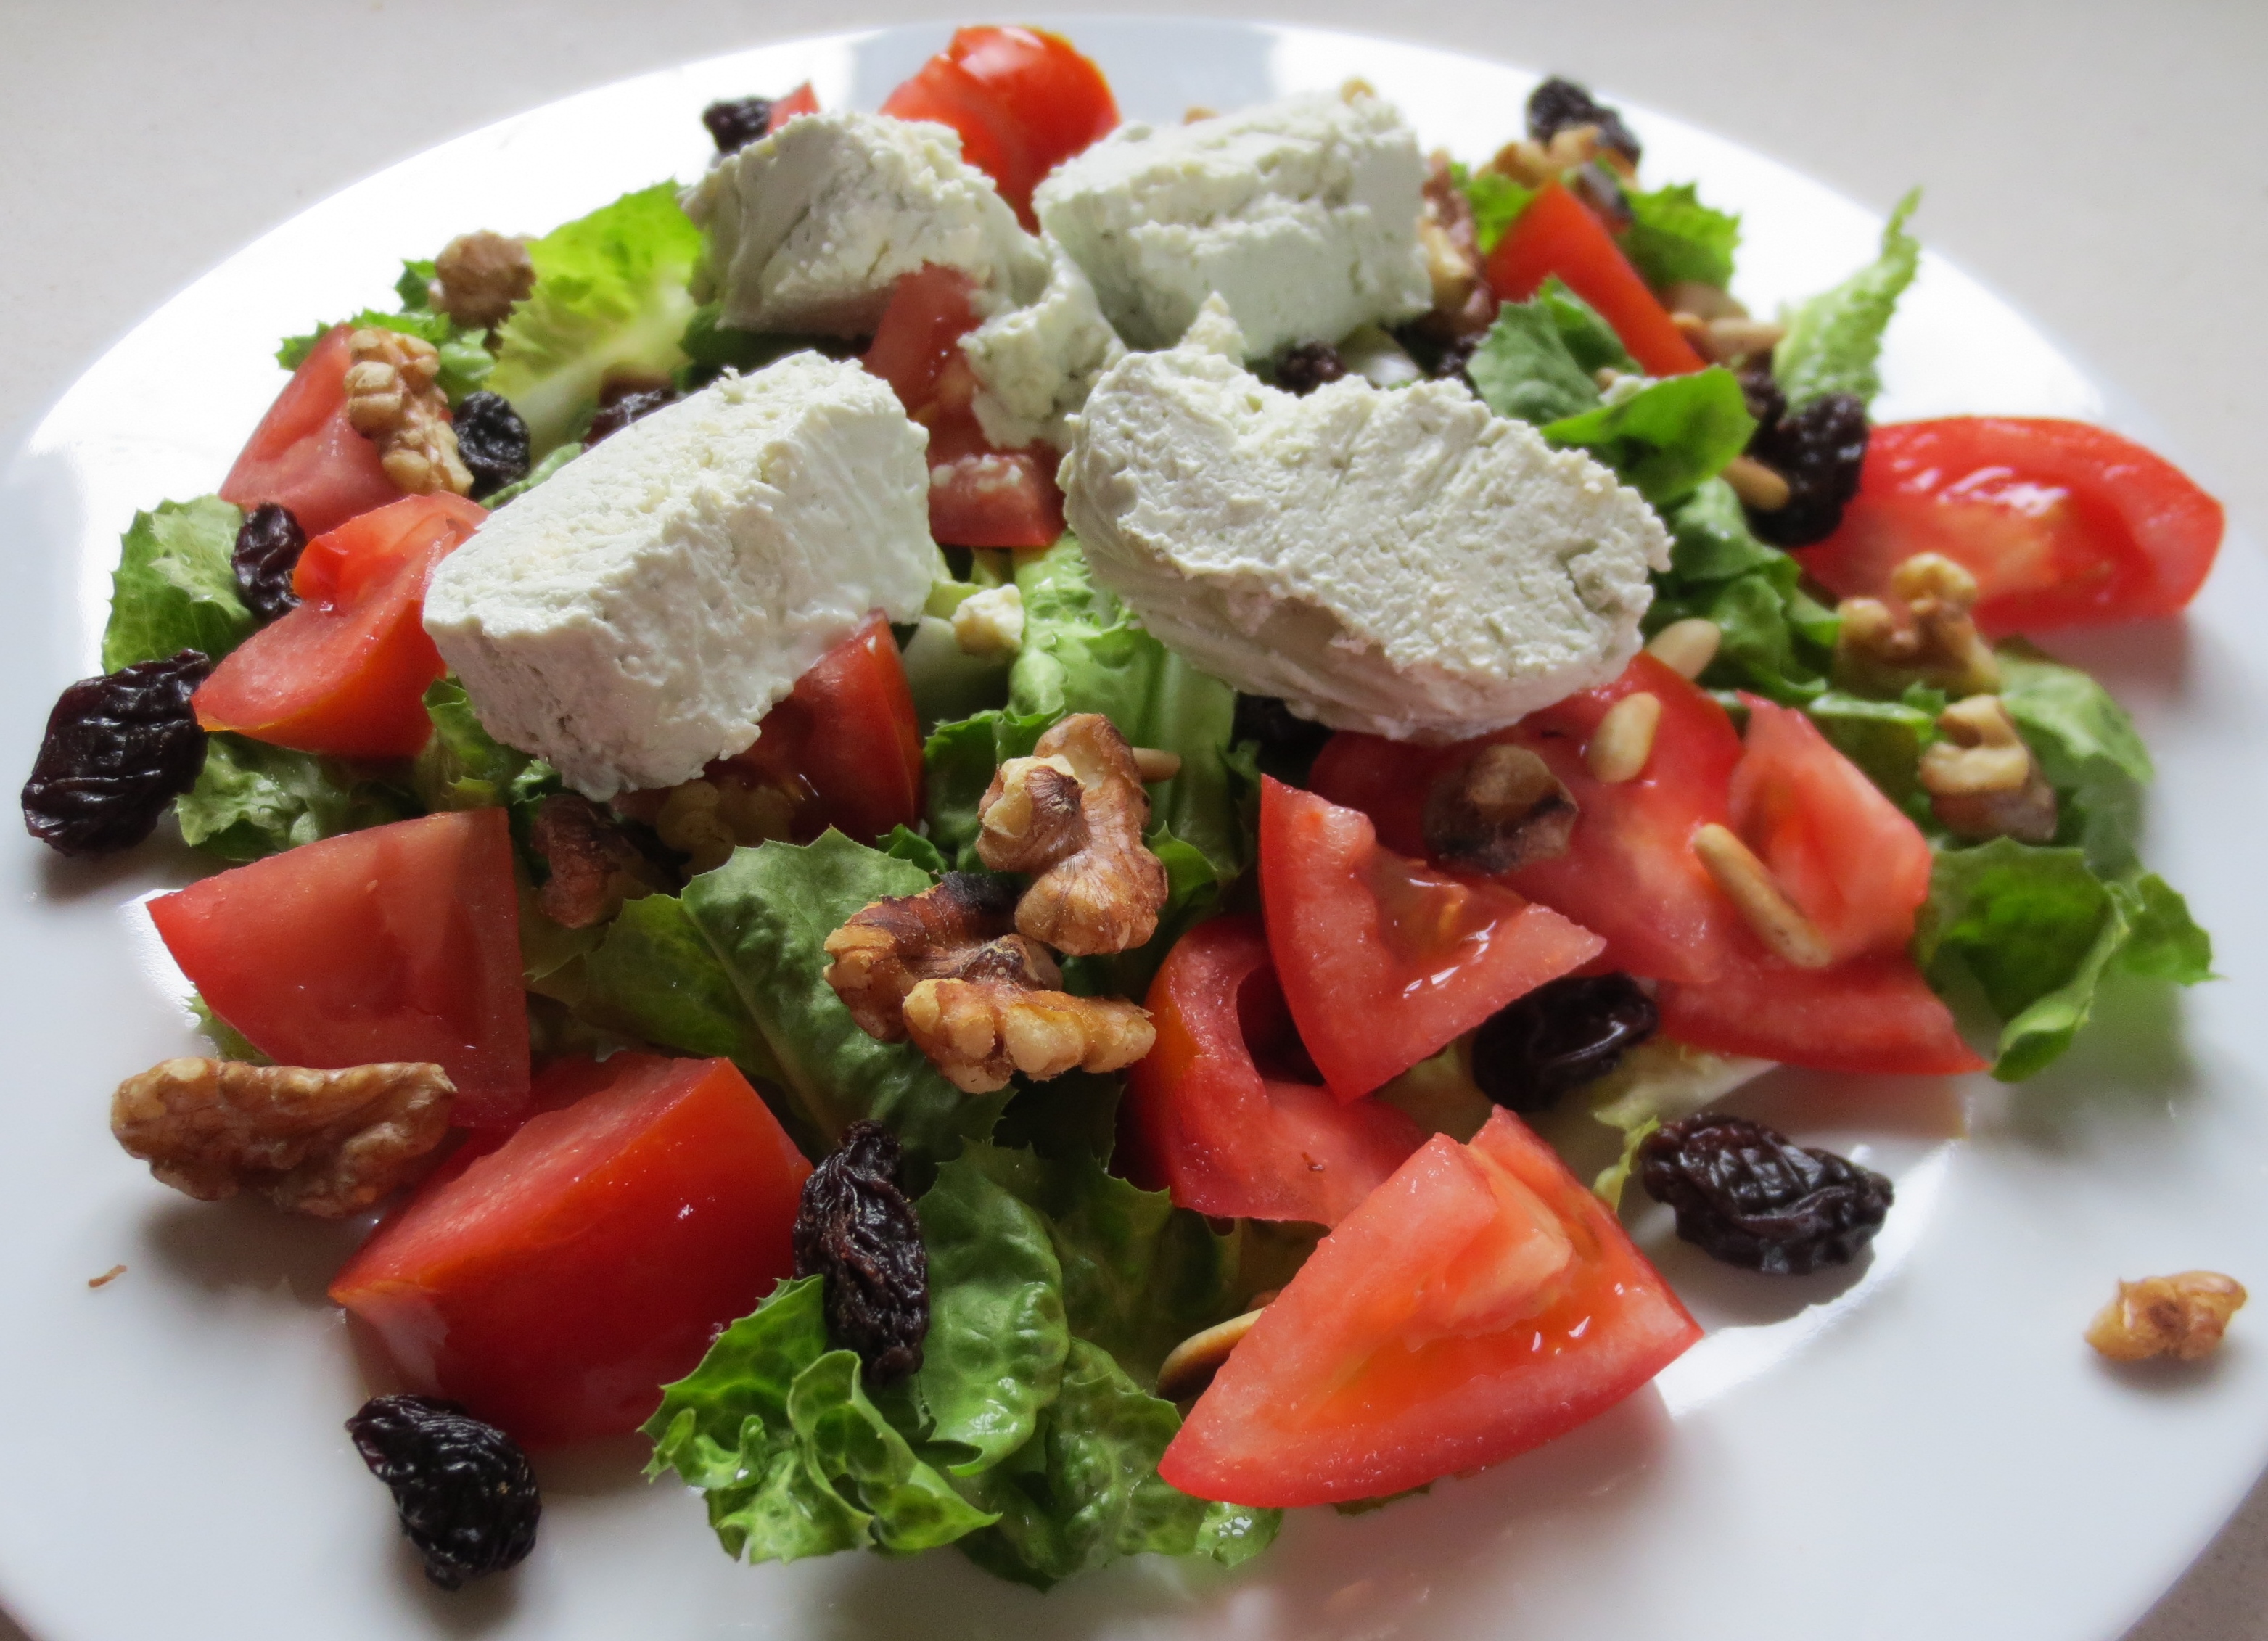
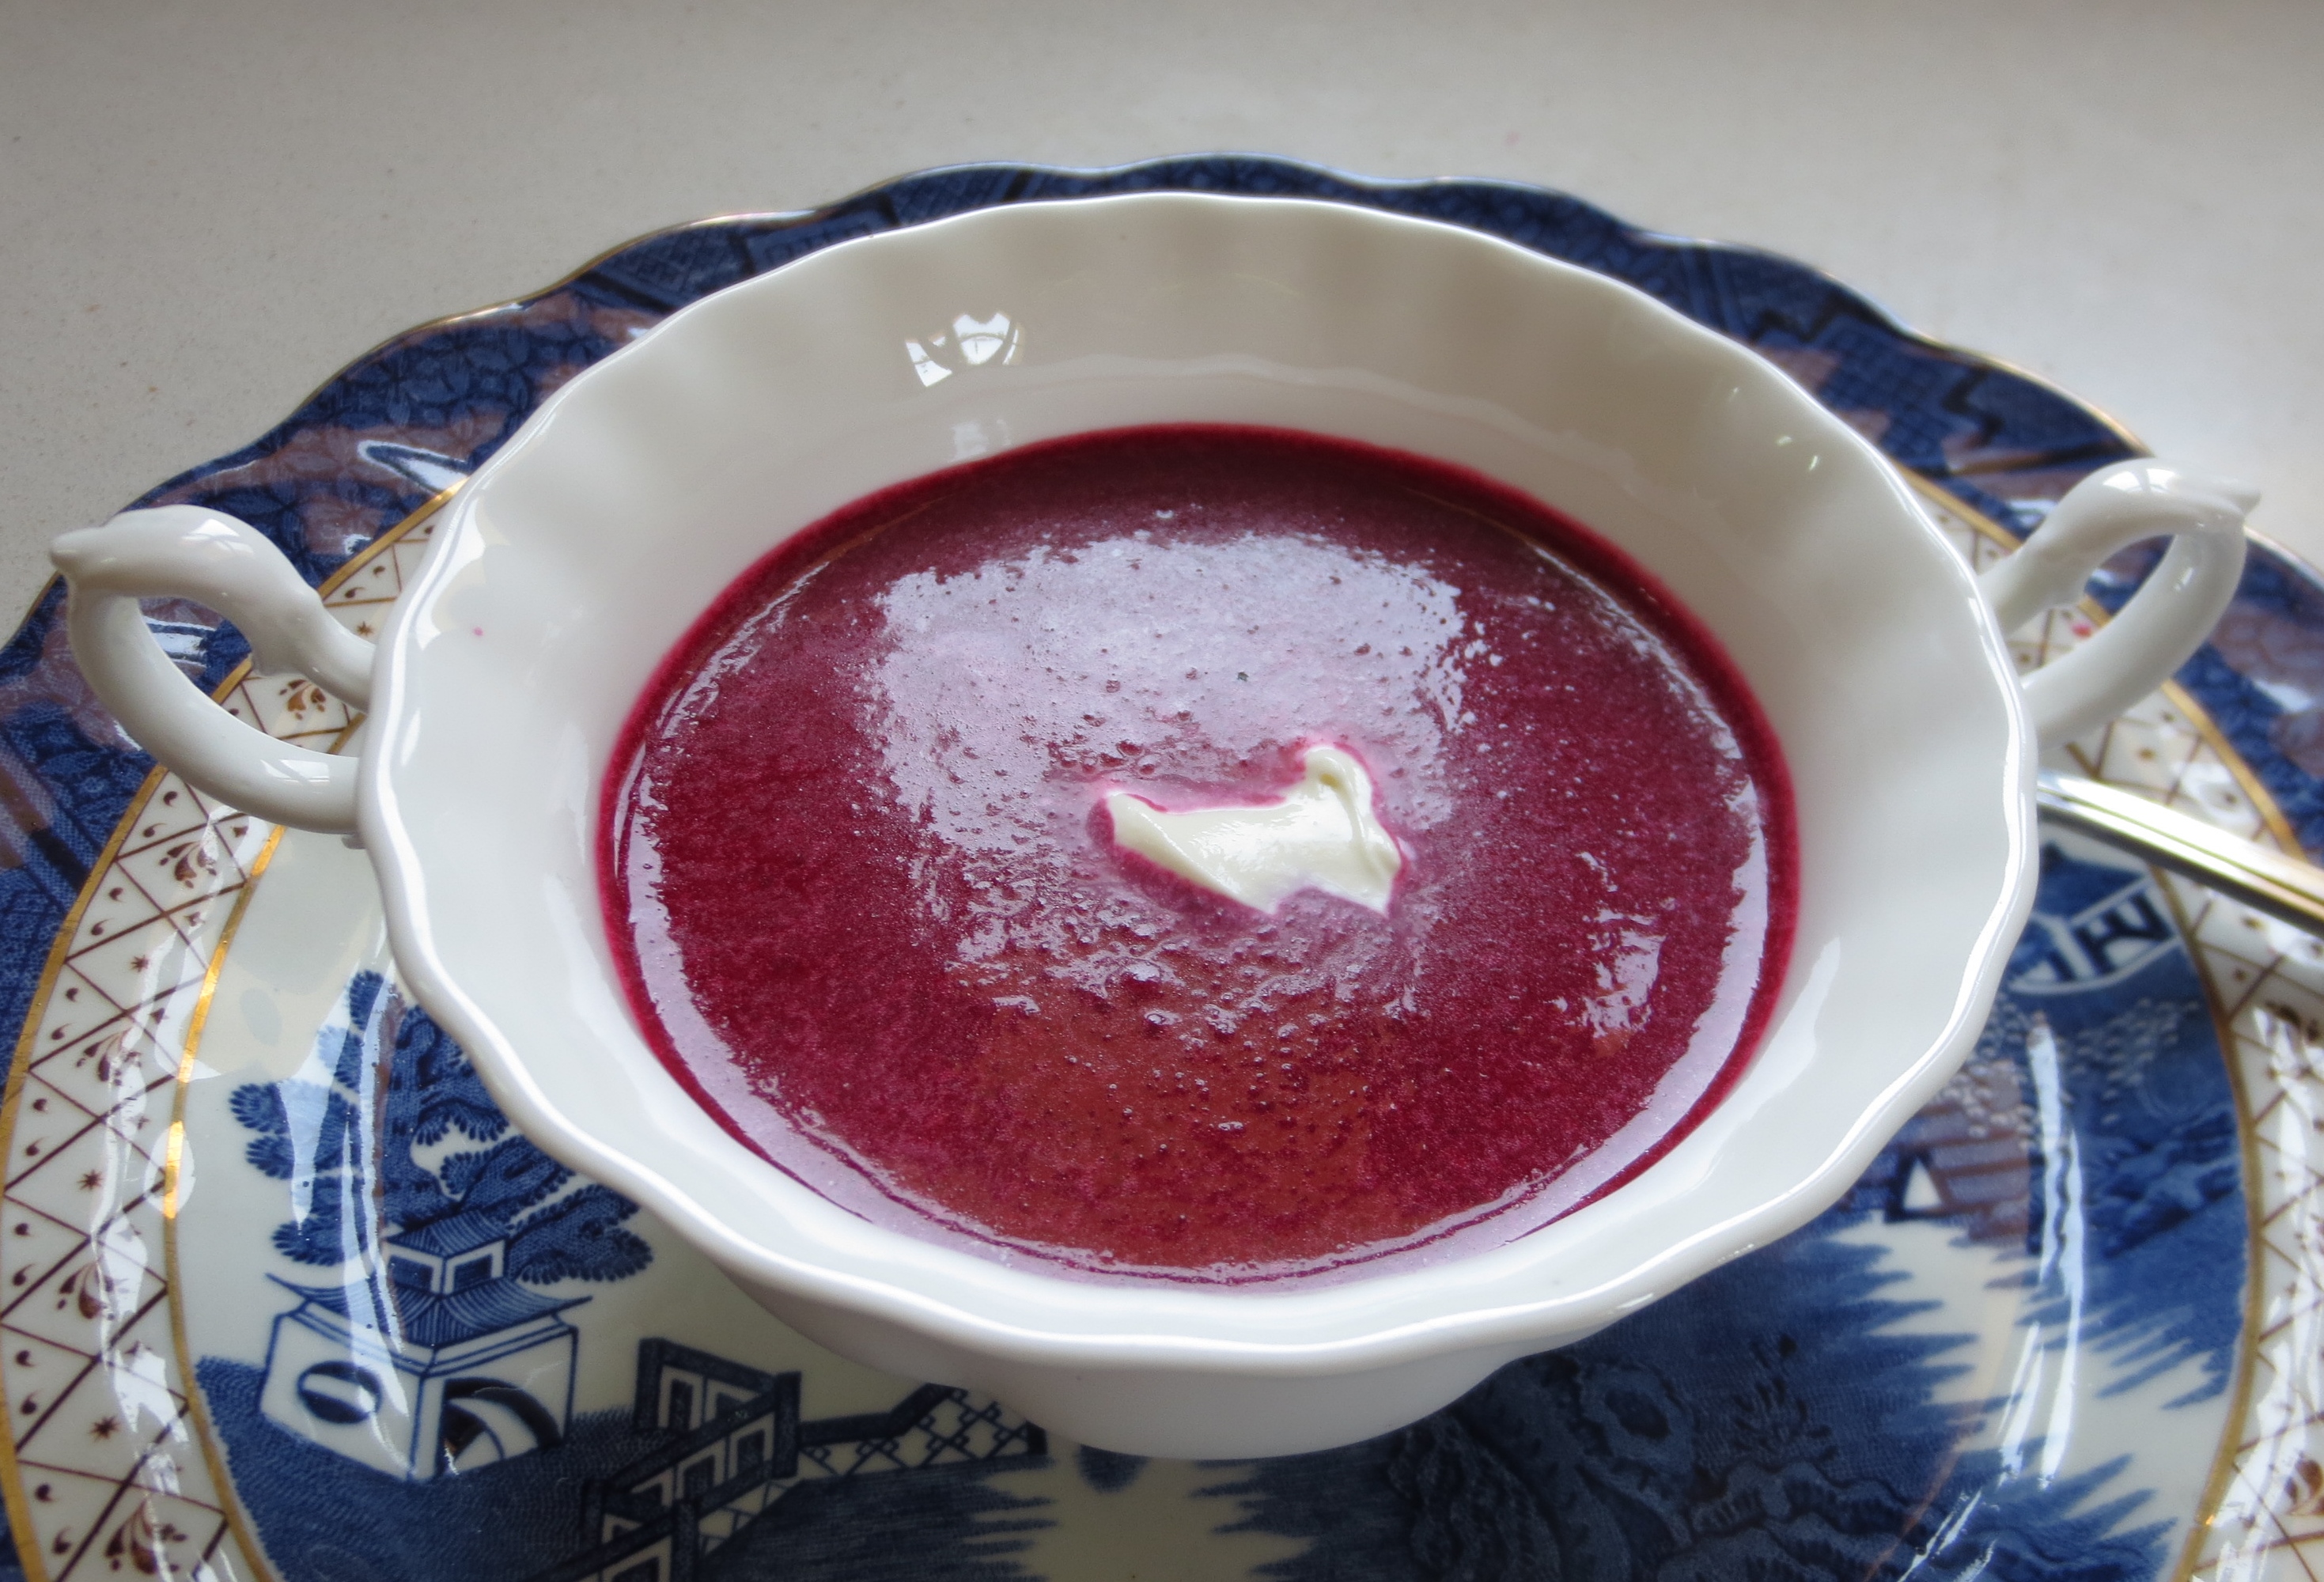
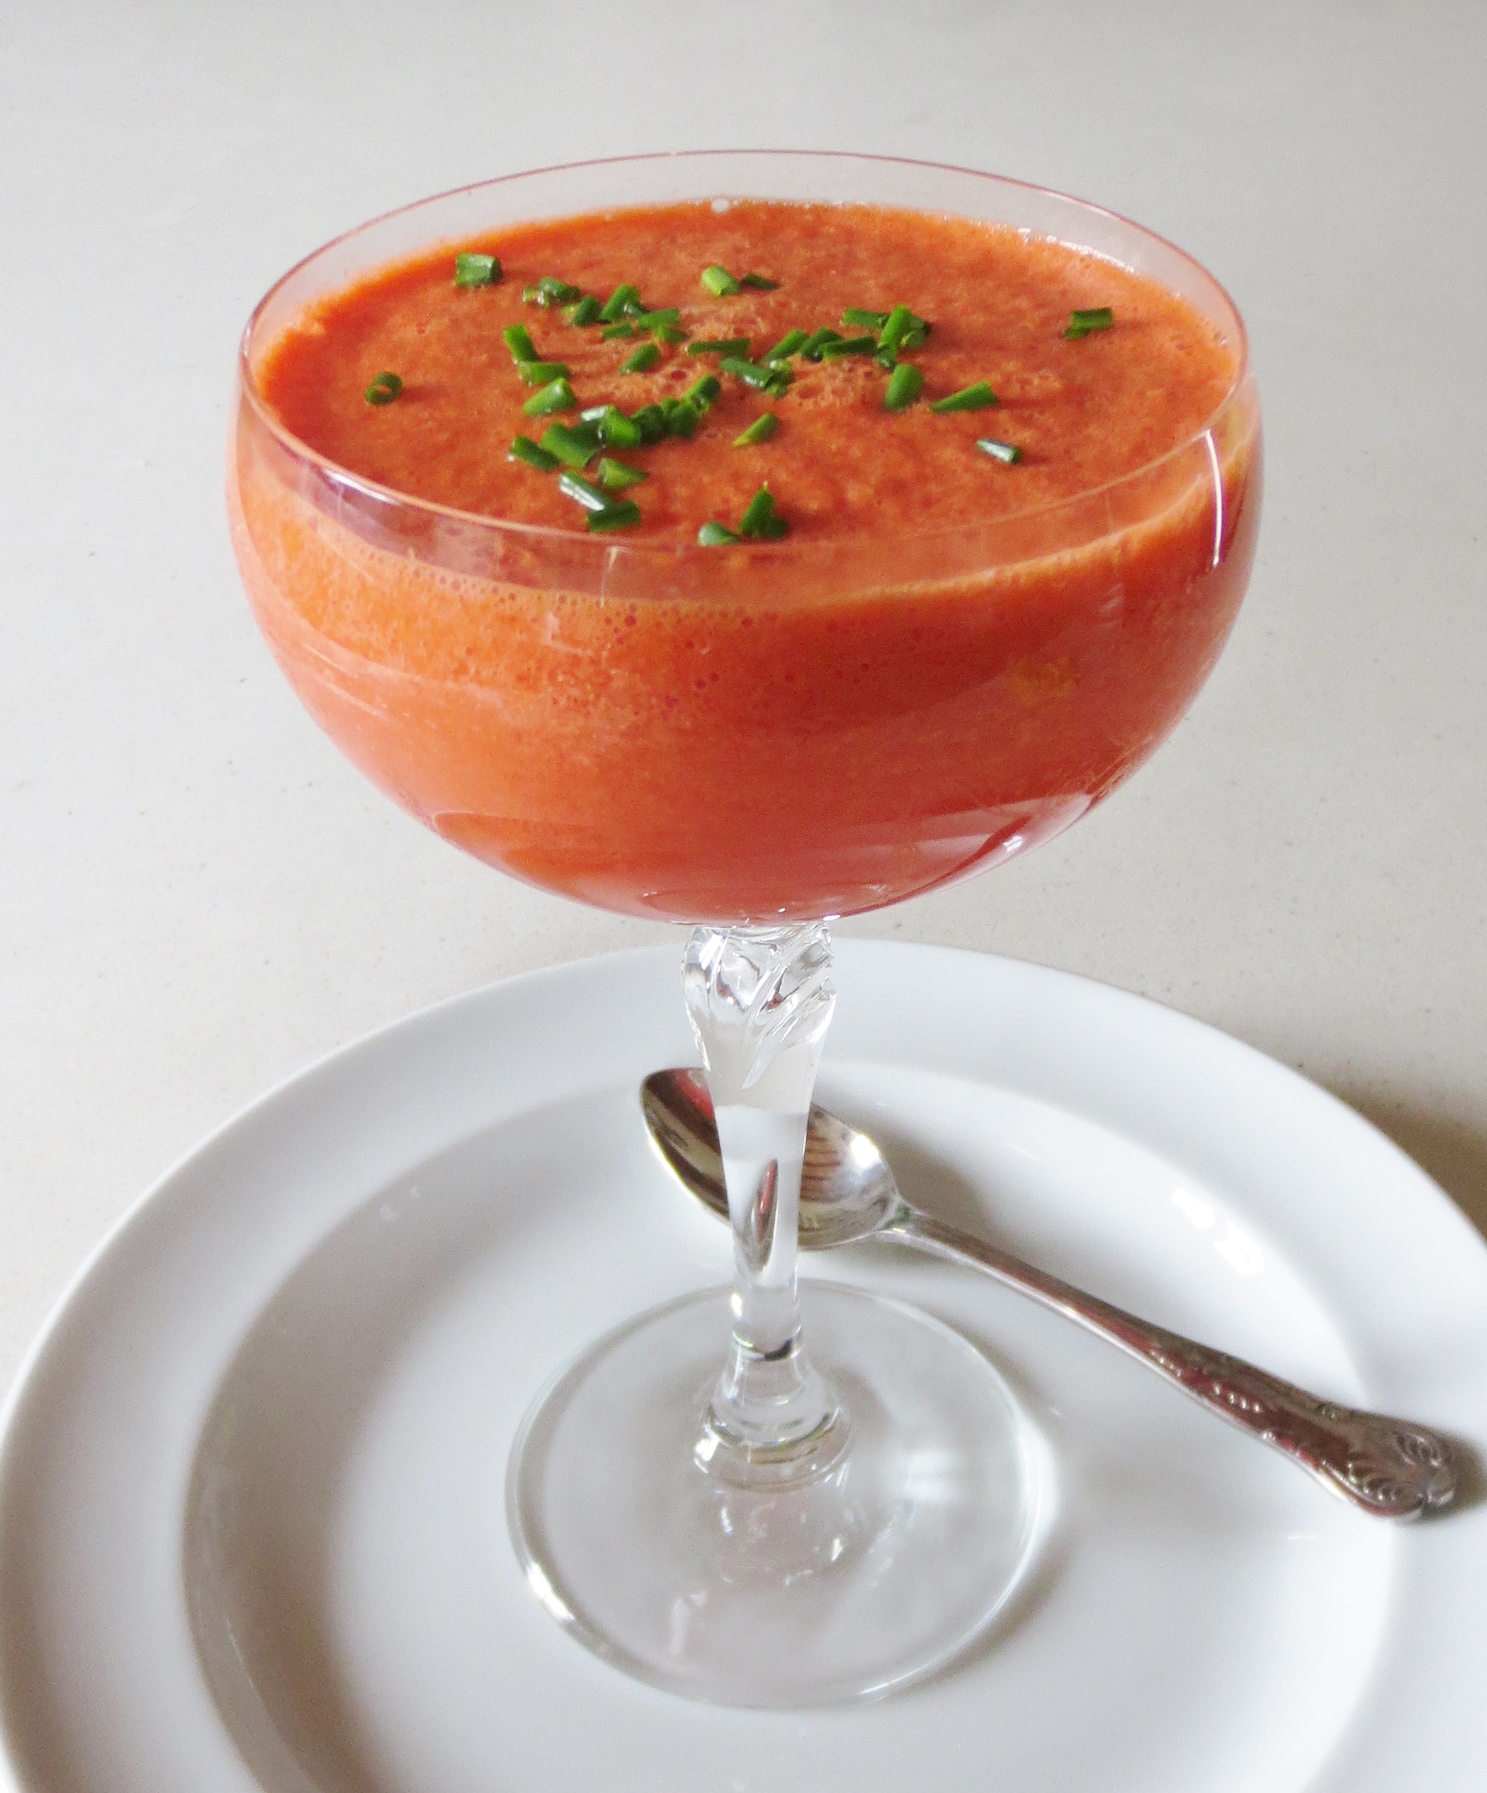
At this time of the year my southern Spanish vegetable garden is lush with green vegetables that in the north are considered spring vegetables. There are several varieties of lettuce and endive, Cima Di Rapa, crispy dark green chard, french beans, Mange-Toute and the sweetest baby courgettes……… So I want to feature this abundance in my meal. I dither between choosing to prepare a composed salad, or grilling some of the vegetables. In my other veg patch I find some small purple and white striped aubergines and a few asparagus spears. That helps me to make up my mind, grilled vegetables with a sweet and spicy pepper sauce. IMG_1390 My regular readers will know that I preserve whatever surplus I have of garden produce as I go along, so the sauce is based on a couple of these, the recipes for which you will find on previous blogs. SWEET AND SPICY PEPPER SAUCE Half a small jar of Red Pepper Salad 2 tablespoons Chilli Jam Juice of half a lemon Simply whizz together in the food processor The main course was Orechiette Pasta with Beef and Tarragon Meatballs in Mushroom Sauce. IMG_1389 
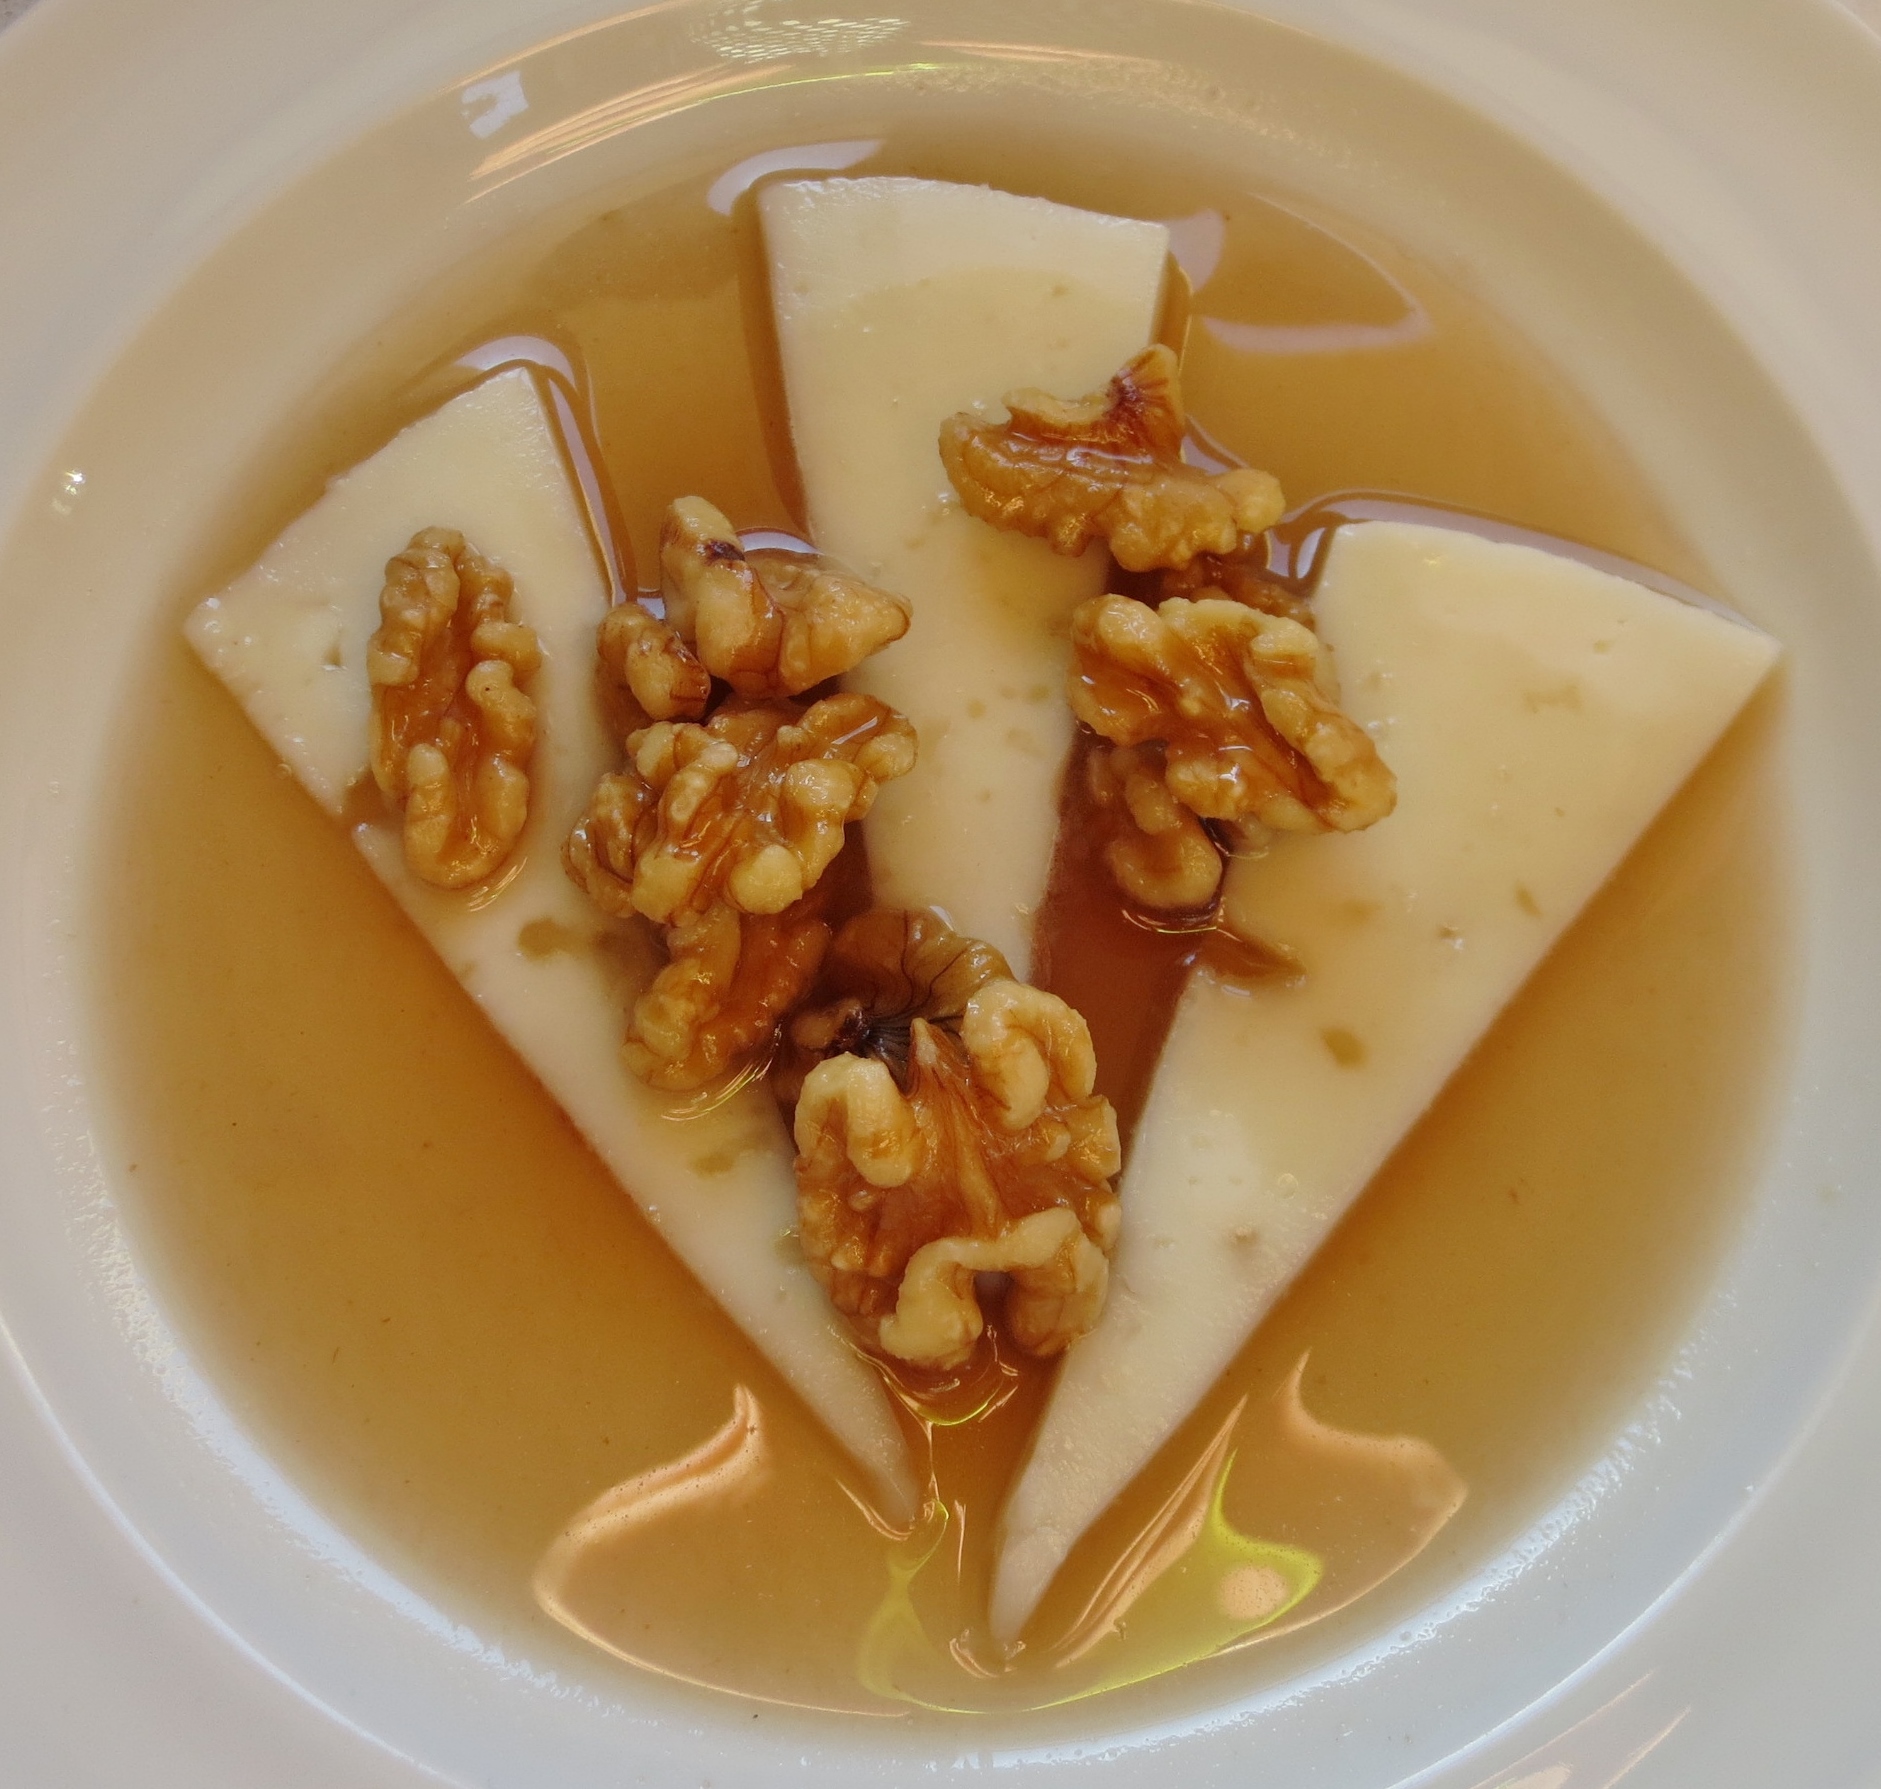
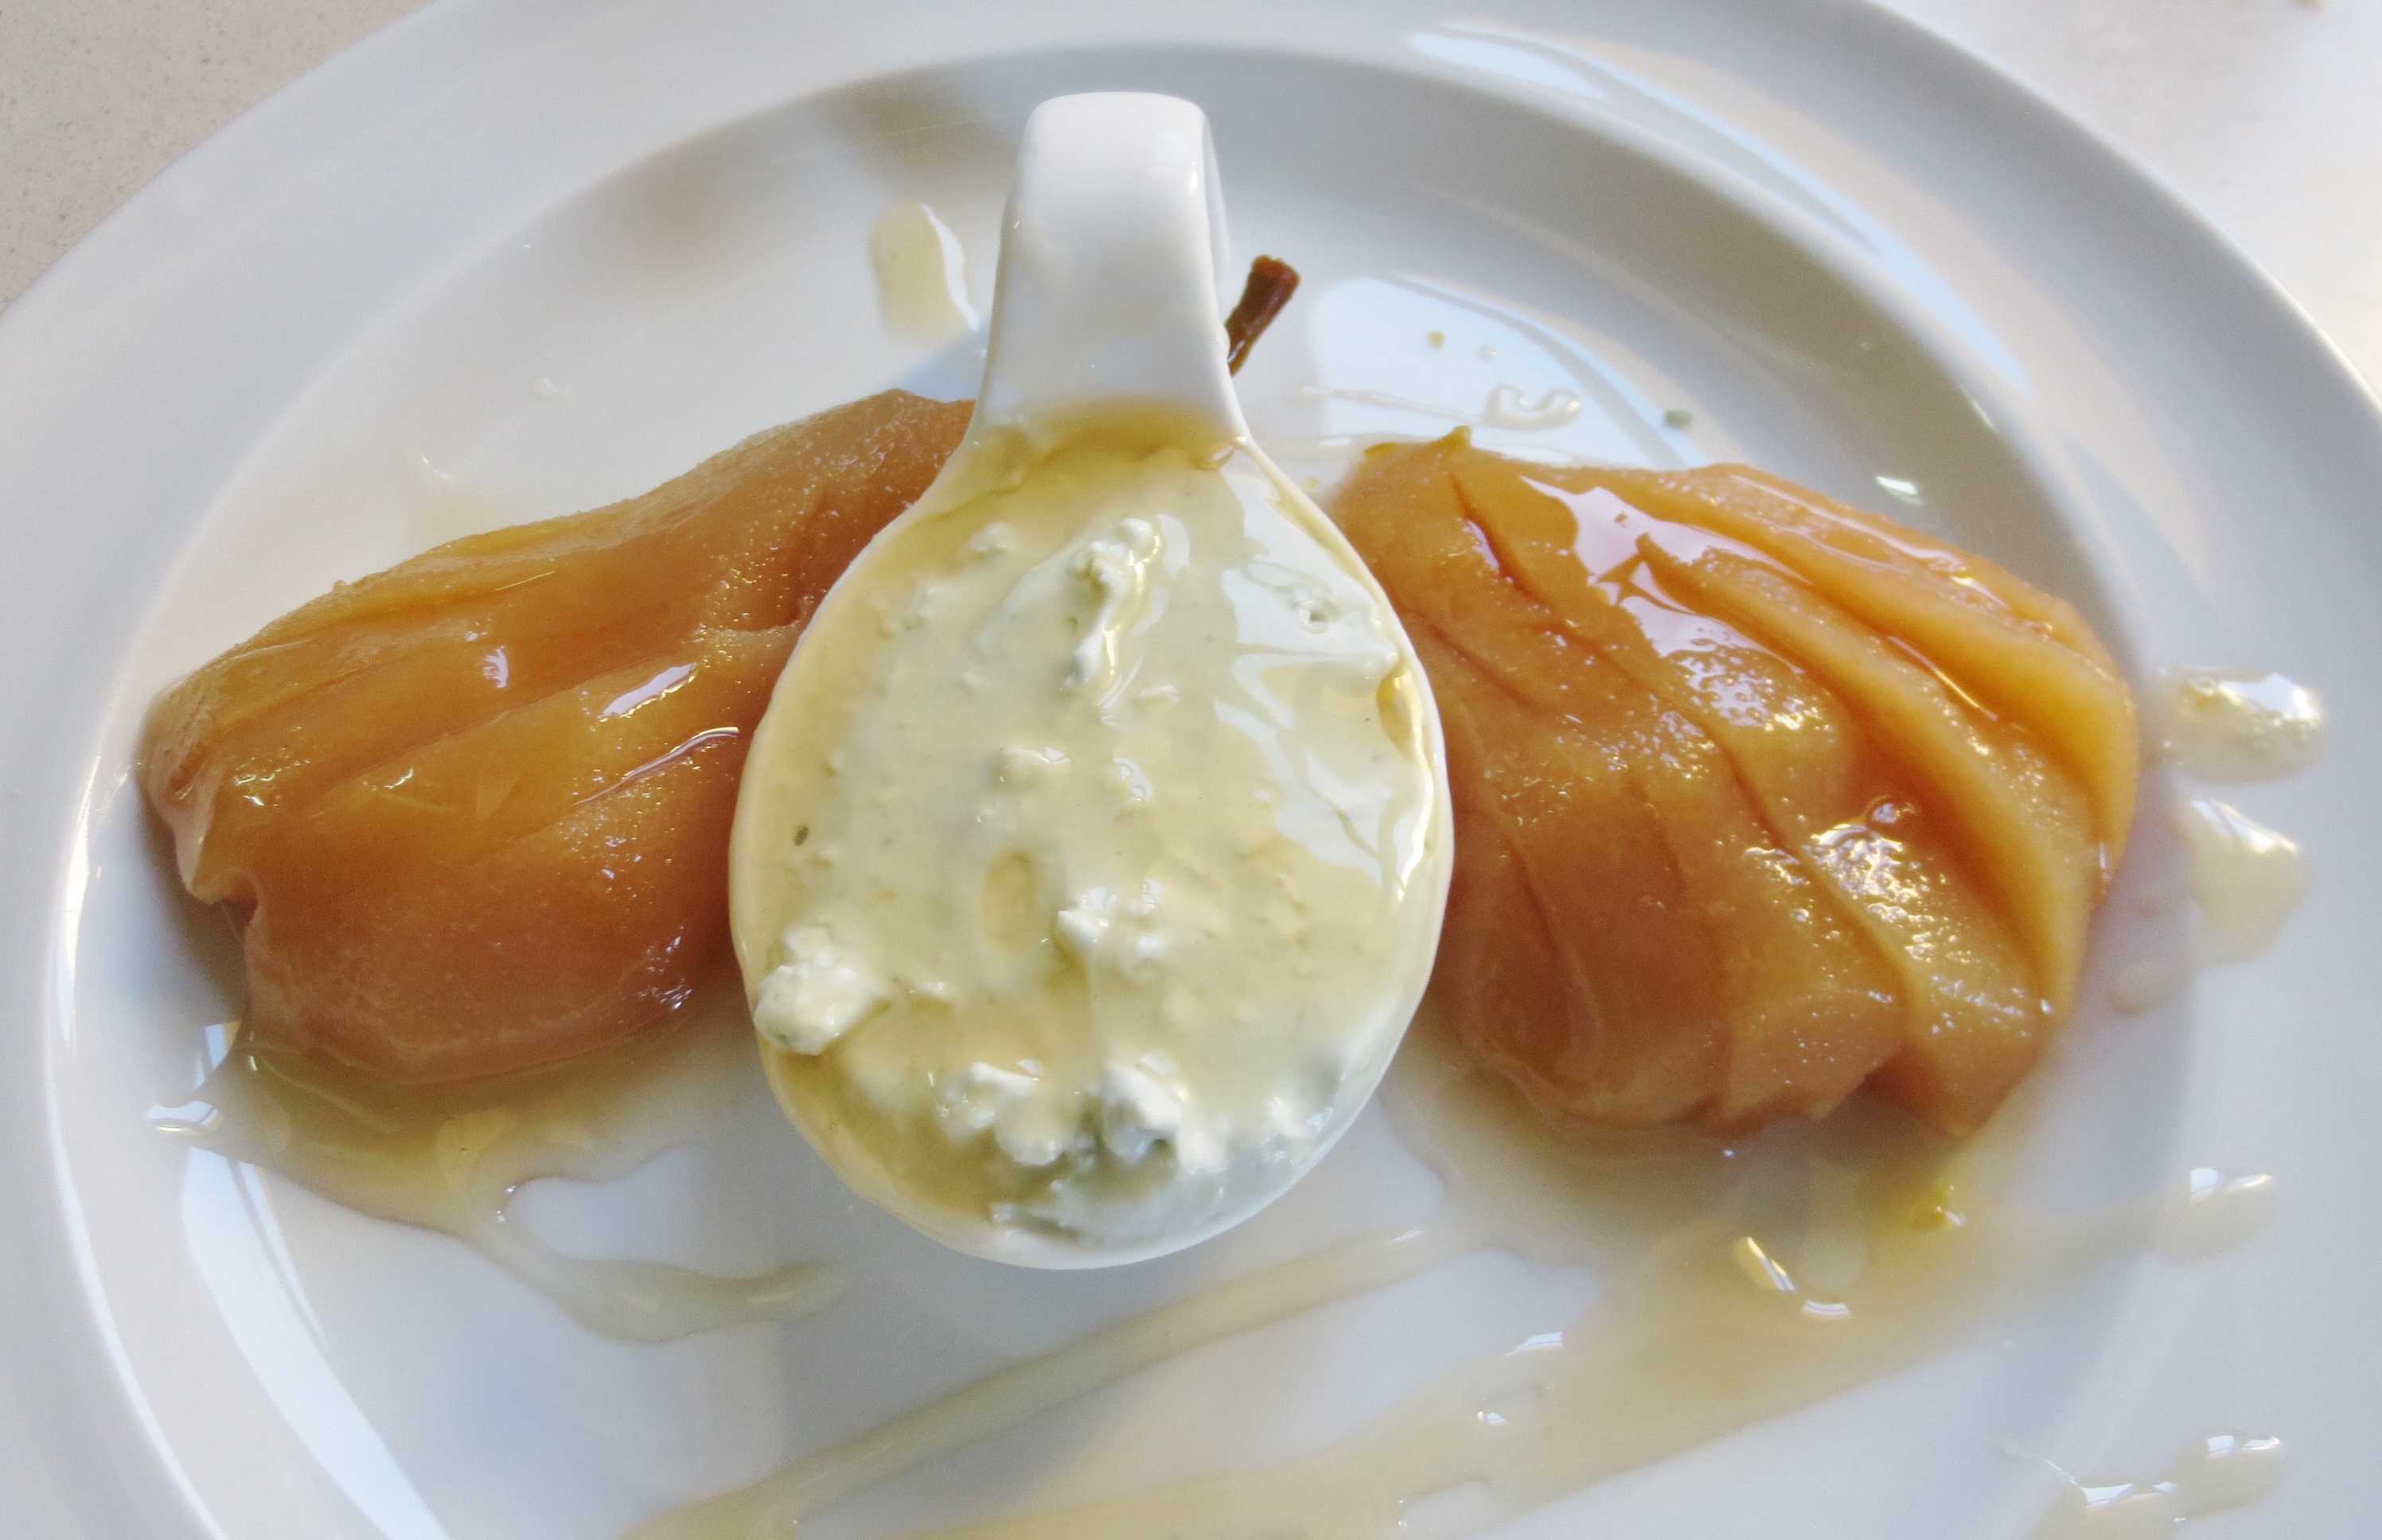
BEEF & TARRAGON MEATBALLS WITH MUSHROOM SAUCE FOR 6 400 grams lean minced beef 2 garlic cloves – peeled 1 medium egg 25 grams dried breadcrumbs – preferably from good bread that you have dried and crumbed yourself Half a dozen sprigs of fresh tarragon Salt and freshly ground black pepper Plain flour Olive oil 100 grams fresh mushrooms, preferably ceps, but chestnut or oyster will do 20 grams dried ceps 300ml chicken stock Put the dried ceps in a small bowl and pour over enough boiling water to just cover. Leave to reconstitute. Crush the garlic cloves with a small amount of salt. Take the leaves off the tarragon stalks and chop finely. Put the minced beef in a bowl with the garlic, tarragon, breadcrumbs and egg. Mix thoroughly. Season with black pepper. Leave for about half an hour for the breadcrumbs to absorb moisture and bind the mix. Take small amounts of the minced beef mix and roll into balls and then roll in the flour. It is tedious to make the balls small, about 1.5 cm across is ideal, but they mix so much better with the pasta and are a perfect little mouthful this size that it is worth the effort. Heat some olive oil in a large frying pan and fry half the meatballs in one batch over a medium heat, turning from time to time to lightly brown them on all sides. Remove to a dish and fry the other half of the meatballs. Remove these too. While the meatballs are browning cut up the mushrooms into quite small pieces. Once the meatballs are out of the pan, add the mushrooms to it together with a little more oil if needed and gently fry them for about five minutes. Add the stock, soaked dried mushrooms and their liquid and bring to a simmer. Simmer for five minutes then add the meatballs and any juices that have seeped out of them. Simmer for five to ten minutes. Serve with pasta and parmesan cheese. For dessert, the Spanish classic, Cheese with Honey and Walnuts, the recipe appeared in a previous post. IMG_0389

Share this:

  • Share on X (Opens in new window) X
  • Share on Facebook (Opens in new window) Facebook
  • Share on WhatsApp (Opens in new window) WhatsApp
  • Email a link to a friend (Opens in new window) Email
Like Loading...

Nicoise Salad

09 Tuesday Sep 2014

Posted by Nevenka in Fish, Food for One, Main Courses, Starters, Vegetable Dishes

≈ Leave a comment

Tags

Egg, French Beans, Nicoise, Salad, Tuna

Composed salads with their mixture of textures, tastes and colours are very close to being perfect food, and a Nicoise Salad is one of the great classics in this category. Its mixture of green leaves and French beans, red tomatoes and peppers, black olives, white and yellow egg and the pinky brown of tuna make it a delight to look at.

IMG_1312

At the market today, my favourite fish stall had some superb fresh tuna, so I decided to sear it fairly rare and have it as part of a Nicoise Salad in place of the usual tinned tuna. Without losing the elements that make a salad a Nicoise, ie Tuna, Egg, French Beans, Tomatoes and Black Olives, there is room for you to make the salad your own. I prefer a poached egg to boiled as I like to mix the runny yolk into the salad. I also like to thin down the mayonnaise with a little water before pouring it over the salad. And I do love Chilli Jam with tuna, so although it is not traditional…..

Share this:

  • Share on X (Opens in new window) X
  • Share on Facebook (Opens in new window) Facebook
  • Share on WhatsApp (Opens in new window) WhatsApp
  • Email a link to a friend (Opens in new window) Email
Like Loading...

Sopa De Ajo Blanco – Chilled Almond and Garlic Soup

05 Friday Sep 2014

Posted by Nevenka in Starters

≈ Leave a comment

Tags

Ajo, Almendras, Almonds, Chilled Soup, Garlic, Sopa De Ajo Blanco, Soup

Here in southern Spain, those of us with almond trees make this soup with the first of the new harvest nuts. Cool and creamy, with a hint of garlic and the fruitiness of olive oil it is delightfully refreshing in the heat of summer and making it has become one of those traditions that one looks forward to each August.
IMG_0050

Making this soup used to be a labour of love involving much pounding of garlic and nuts with a pestle in a large mortar, nowadays with the aid of a liquidiser it is a much less labour intensive task to make. Having said that, it is only when the almonds are fresh that the graininess will disappear with blending. It is possible to make the soup with drier almonds, but you will have to strain it after blending to make sure that the texture is smooth and creamy.

Of course for us locals we still have to pick the almonds in the heat, shell them and them remove the inner brown skin, so this is not the dish for those in a hurry.

SOPA DE AJO BLANCO
FOR 4-6 People
vcm_s_kf_repr_812x641

1 small clove garlic
Half a teaspoon of salt
100 grams fresh almonds
50 ml fresh fruity olive oil
1 litre cold water
1 tablespoon white wine vinegar
50 grams fresh white bread without crusts
2 tablespoons small yellow raisins
Half a sweet eating apple cut into small dice

Peel the garlic clove and with the salt pound to a paste with a pestle and mortar. Add some of the oil and water and pound to mix. Put into the goblet of your liquidiser.

If you are starting with fresh off the tree almonds then weigh the kernels after cracking the shells and removing them.

To remove the brown skins, put the nuts into a plastic container and pour boiling water over them. Leave to soak for two to three minutes, then drain them and put them into cold water. The skins will peel off easily.
Add the nuts to the garlic in the liquidiser and whizz to grind them.

Add the rest of the olive oil, the bread cut into cubes, the vinegar and enough of the water that the mixture can make a thick sauce. Whizz for a couple of minutes until all is smooth.

Add the rest of the water and whizz again until very smooth and all graininess of the almonds has gone.
Check for seasoning. The soup may need more salt or vinegar.

Put the soup into a container that will fit into the fridge. Add the raisins and apple cubes, then leave the soup to chill for several hours before serving.

The soup may separate out a bit with the solids coming to the top of the mix, but don’t worry simply stir it back to an emulsion again.

Share this:

  • Share on X (Opens in new window) X
  • Share on Facebook (Opens in new window) Facebook
  • Share on WhatsApp (Opens in new window) WhatsApp
  • Email a link to a friend (Opens in new window) Email
Like Loading...

Blue Cheese – Dressing, Mousse & Ice Cream

27 Wednesday Nov 2013

Posted by Nevenka in Food for One, Sauces, Starters

≈ 2 Comments

Tags

Blue Cheese, Blue Cheese Dressing, Blue Cheese Ice Cream, Blue Cheese Mousse, Ice Cream, Mousse

As I mentioned in the last post, I have been having a go at replicating the Blue Cheese Ice Cream that we were served atop a salad in Bodega Aranda and which was so delicious. I believe I have achieved success.

????????????????????????????????

As a basic recipe I started with one for a blue cheese salad dressing that I learnt from Pam Smith, when I was working at her Restaurante Sin Niumero in Mojacar many moons ago. It is so simple yet wonderful that I am surprised that it is not more widely known. All you need is blue cheese, thick or whipping cream and black pepper.

Then to adapt the recipe for mousse or ice cream the proportions of the ingredients are changed.

To make the salad dressing you need about one quarter volume blue cheese to three quarters cream. Put both in the food processor and beat until well mixed and the cream has started to thicken. Be careful not to overbeat or the mix may curdle. This happens very easily in the hot summer heat here. The dressing will further thicken in the fridge, so you can stop beating when the dressing is a little less thick than you want the end result to be.

Season with black pepper. There is no need for salt as the cheese will have enough in it already.

Store in the fridge until needed. It will keep for up to three days.

The mousse I like to serve with fruit to offset the sweetness of it. As fruit ripens on the farm, any that is not eaten fresh is preserved. Here I have pears poached in sugar syrup flavoured with cardamoms and saffron. They are put into sterilised jars when hot and then will keep up to three years if kept in a cool dark place. They then provide the basis for a quick and easy dessert.

IMG_0770

When I come to serve the pears, I drain off the syrup which I then reduce by putting it in a pan, bringing it to the boil and continuing to simmer it until it is thickened and viscous. Let it then cool then drizzle over the whole dish when serving.

For the mousse the proportion of cheese to cream is equal and I like to leave some texture to the cheese as you can see above. But if you prefer a smooth mousse then beat a bit more. If you are serving the mousse with fruit then the pepper is optional.

To ensure that the ice cream does not set too hard the choice of cheese is important. It needs to be a full fat blue cheese like Stilton, Roquefort or Cabrales. It is tempting to imagine that a soft cheese would give better results, but these have more water in them which freezes very hard.

The proportions again are half cheese half cream. Beat them together well. Season with black pepper and freeze.

When you come to serve the ice cream, you may need to transfer it from the freezer to the fridge half and hour to an hour before needed so that it can soften a little, it depends on the temperature of your freezer.IMG_0753

A reminder that the original salad we were served was Corn salad, Tomatoes, Pine Nuts, Walnuts and Raisins with the Ice Cream in a mound on top. The waitress then dressed the salad with Olive oil and sherry vinegar before cutting up the ice cream and then folding it gently into the salad.

For my salad, pictured at the beginning of this post, I replaced the corn salad with some mild Endive leaves and I lightly toasted the nuts to bring out their flavour. The coolness of the ice cream combined with the slight bitterness of the leaves and the warmth of the nuts was wonderful, even on a cold wet day like today, and would be even better on a hot summers day.

Share this:

  • Share on X (Opens in new window) X
  • Share on Facebook (Opens in new window) Facebook
  • Share on WhatsApp (Opens in new window) WhatsApp
  • Email a link to a friend (Opens in new window) Email
Like Loading...

Bodega Aranda – Almeria City

11 Monday Nov 2013

Posted by Nevenka in Fish, Food for One, Snacks and Tapas, Starters, Sweet Things, Vegetable Dishes

≈ 1 Comment

Tags

Ajo Blanco, Blue Cheese, Blue Cheese Ice Cream, Corn Salad, Escabeche

IMG_0760

After visiting the central market in Almeria we had worked up an appetite for lunch, and remembered that this ancient tapas bar was not far away.

Having installed ourselves at a table we asked the waitress to bring us a selection of what was good at the moment. She suggested the house salad, a couple of plates of fish and fried potatoes topped with broken eggs and the local made chorizo and morcilla. Perfect we said, not realising what culinary delights lay behind these simple descriptions.

The house salad arrived. Rich green corn salad, walnuts, pine nuts, raisins, and a halo of tomatoes surrounding a mound of blue cheese ice cream. The waitress had a small bowl of dressing – olive oil and sherry vinegar with seasonings – which she poured over the salad, then she cut the ice cream into pieces and gently mixed it with the salad.

IMG_0753

It was heavenly. I am working on a recipe for the ice cream – maybe have it perfected for the next post.

The fish course was next –

IMG_0755

Fillets of baby Cod and Smelts in light batter and fried served with the best Ajo Blanco I have ever tasted. You could taste the slight bitterness of the almonds, a hint of garlic that was not overpowering, the sauce was made smooth with bread and olive oil and balanced with white wine vinegar.

IMG_0754

Jureles en Escabeche. Escabeche is a way of mildly pickling fish. It is gently poached in a broth of olive oil, white wine vinegar and water which is flavoured with onions, peppercorns, saffron and bayleaves. Frequently smoky Pimenton is added as well, but in this dish of small fish it wasn’t needed.

IMG_0756

Next was the Potatoes with Chorizo, Morcilla and broken eggs.

IMG_0758

To finish the meal a succulent large date each, dark chocolate covered raisins and mint tea.

Share this:

  • Share on X (Opens in new window) X
  • Share on Facebook (Opens in new window) Facebook
  • Share on WhatsApp (Opens in new window) WhatsApp
  • Email a link to a friend (Opens in new window) Email
Like Loading...

A late summer Sunday Lunch – The Starter

23 Monday Sep 2013

Posted by Nevenka in Starters

≈ Leave a comment

Tags

Basil Lettuce, Bresaola, Cecina, Pine Nuts, Salad of Basil Lettuce, Toasted Pine Nuts and Parmesan Crisps

On the menu –

Salad of Basil Lettuce, Bresaola, Toasted Pine Nuts and Parmesan Crisps

Salmon with Rasta Sauce and White Polenta

Honey & Walnut Semi-Freddo

???????????????????????????????????????????????

I never think of salad combinations as being recipes, but I suppose they are really. This salad uses most of the ingredients in Pesto which we all know complement each other perfectly, and adds cured beef – Bresaola in Italy and Cecina here in Spain. The salad leaves of course are grown on the farm. If you have a plot on which to grow your own vegetables, look out for seeds for Basil Lettuce, the large leaves are milder in flavour than the usual sweet basil, so perfect for salad. It is very happy in the summer heat, but you do have to keep cutting it to encourage the large tender leaves. of course a smaller amount of sweet basil leaves can be used with salad leaves if basil lettuce is not available.

SALAD OF BASIL LETTUCE, BRESAOLA, TOASTED PNE NUTS & PARMESAN CRISPS

Mixed salad leaves – one third of which want to be basil lettuce or a sixth if using sweet basil

Cured beef – Bresaola or Cecina – 25 grams per person

Pine nuts – 1 heaped teaspoon per person

finely grated parmesan cheese

extra virgin olive oil

fresh lemon juice

freshly ground black pepper

Make the parmesan crisps. Heat the oven to 180 centigrade.

Line an oven tray with baking paper then using a small round pastry cutter, spoon the grated cheese into the centre and pat down with a teaspoon to make even depth discs.

Bake for 7-10 minutes until golden and bubbling.

Remove from the oven and let cool before removing the discs from the paper. When they are completely cold they can be stored in an airtight container for up to 24 hours.

Toast the pine nuts. Use a thick based shallow pan on a low heat and keep moving the nuts around until an even golden colour. Toasting the nuts really brings out their flavour. This can be done several hours in advance.

Put the salad leaves in a large bowl and dress with the olive oil, lemon juice and black pepper. Toss well.

Add the pine nuts and toss again.

Put onto individual plates and lay over strips of the cured beef.

Decorate with the parmesan crisps.

Next post the main course

Share this:

  • Share on X (Opens in new window) X
  • Share on Facebook (Opens in new window) Facebook
  • Share on WhatsApp (Opens in new window) WhatsApp
  • Email a link to a friend (Opens in new window) Email
Like Loading...

Borscht – Another Cool Summer Soup

19 Monday Aug 2013

Posted by Nevenka in Starters, Vegetable Dishes

≈ Leave a comment

Tags

Beetroot, Borscht, Soups, Starters

The beetroot grow so fast on the farm here that, throughout the summer, they are tender and tasty. I love them just grated as a salad with a dressing of Balsamic Vinegar and Olive Oil and some cubes of goats cheese on top. When I tire of that, then a lovely light soup is a great dish to make with them. Delicious chilled or hot.

IMG_0380

BORSCHT

For 4

500 grams beetroot

2 cloves garlic

3 tablespoons olive oil

1.5 tablespoons balsamic vinegar

500 ml clear chicken stock

Salt and freshly ground black pepper

Sour cream to serve

Peel the beetroot and chop into small dice.

Peel and finely chop the garlic.

Put  the beets and the garlic in a saucepan with the olive oil and fry gently to soften for about ten minutes.

Add the chicken stock, balsamic vinegar and half a teaspoon of salt. Bring to a simmer and cook until the beetroot is tender. Leave to cool.

Puree in the food processor or liquidiser. Check the seasoning.

Served either chilled or reheated adding a spoon of sour cream.

Share this:

  • Share on X (Opens in new window) X
  • Share on Facebook (Opens in new window) Facebook
  • Share on WhatsApp (Opens in new window) WhatsApp
  • Email a link to a friend (Opens in new window) Email
Like Loading...

Cool Summer Soups

17 Saturday Aug 2013

Posted by Nevenka in Snacks and Tapas, Starters, Vegetable Dishes

≈ Leave a comment

Tags

Fruit Soups, Gazpacho Andaluz, Gazpacho de Sandia, Watermelon Soup

????????????????At this sultry time of year I like to have a jug of soup chilling in the fridge. Solid food is too much in the August heat, and soup can be breakfast. lunch or dinner. When I first came to Spain I quickly found out how to make the classic Gazpacho which uses the richly ripe summer tomatoes, peppers and cucumbers blended with sweet garlic and olive oil. Then in Cordoba I came across Ajo Blanco, made with the new crop almonds and deliciously creamy. Some time later it occurred to me that these soups follow a sort of formula and maybe other vegetables – and fruits could be used to make Gazpacho.

It all started with a bumper crop of slightly too acidic Loquats or Nispero and a vague memory of being served a fruit soup in Hungary while visiting a friends family there with her. The soup was delicious. Since then I have made soup from almost each fruit as they come into season. Cherries are particularly successful. I have used the flat white peaches that we grow on the farm, which make for a very creamy textured soup of the gorgeous delicate peach colour illustrated below. Nectarines, Plums, Apricots – all good.IMG_0377

Right now Watermelon is the fruit, so I have used that for the master recipe. Now that the melons come without seeds that you need to pick out, it is even quicker to make.

GAZPACHO DE SANDIA IMG_0414

This made 1.2 litres, enough for at least 6 servings

Half a watermelon

2 cloves garlic

half a teaspoon of salt

60 ml good olive oil

Simply cut the flesh from the melon into cubes, peel and roughly chop the garlic and then add these with the rest of the ingredients to the food processor or liquidiser and blitz to a puree.

Check the seasoning and then put in the fridge for a couple of hours to chill down and for the flavours to meld.

If you are using a more solid fruit like peaches or plums, you will need to add water to get the right consistency. Some fruits that are very sweet or very ripe benefit from the addition of lemon juice to balance the flavour.

Have fun experimenting with your fruits.IMG_0416

Share this:

  • Share on X (Opens in new window) X
  • Share on Facebook (Opens in new window) Facebook
  • Share on WhatsApp (Opens in new window) WhatsApp
  • Email a link to a friend (Opens in new window) Email
Like Loading...

Making your own Perfect Pizza

09 Tuesday Jul 2013

Posted by Nevenka in Main Courses, Starters

≈ 1 Comment

Tags

Mozarella, Pecorino, Pizza

I am very fortunate to have in my kitchen in the farmhouse a fabulous wood burning oven, so for me to make good pizzas at home is not so difficult.IMG_1701

I am well aware that the average kitchen is not so equipped, so I have been experimenting with a standard fan oven to see how to achieve the desired crispy pizza. The key to success involves a trip to your builders suppliers to buy some refractory or fire bricks. These are the bricks that are used to line fire places and traditional ovens. You will not need many, just enough to line a shelf of your oven. Even though I have the wood burning oven, lining the floor with fire bricks has improved hugely the quality of pizzas and breads that I bake.

It is possible to buy online bread stones which will do a similar job, but without buying several and trying them out I cannot vouch for their effectiveness. Having said that, the pros and cons seem to me to be that;  the fire bricks are usually 3 cm thick, which will hold the heat better than something thinner, and so cook the pizza quicker and give a crisper result, but to get the bricks to fit your oven you might have to trim some of them. The fire stones come in a neat size and shape, but are generally thinner, so may not give you such a crisp pizza.

The fire bricks or pizza stones act in a similar way to the thick base of pans – they hold and evenly distribute the heat. When you put your pizza or loaf on the hot bricks, there will be enough heat already in them to start cooking it straight away, and hence you get a crisper result.
The bricks or baking stone need to be put into a cold oven and then heated up, and when you have finished baking leave them in the oven to cool down slowly.
If they cool too rapidly they are likely to crack. In a fan assisted oven heat it to 250 C which is the maximum in mine. At his temperature the pizzas will only take about 7 minutes to cook, so bear this in mind and either remind yourself with a timer, or don’t wander off. This is important when you have guests who can distract you. You can tell that I am speaking from experience here.
The other key to creating an authentic style crisp pizza is to go light on the toppings especially the wet ingredients. Remember the toppings are there to flavour the bread rather than the bread being a raft for lots of heavy cheese and salami. Also getting the pizza onto the bricks is not so easy and when it is heavy with toppings it is much more likely to break.
For novices I can recommend using one of those silicon sheets. Lay the pizza base on the sheet, add toppings and then put the whole thing on the bricks.
For the pizza base, I use a standard white bread dough –
500 gms strong white bread flour
15 gms fresh yeast or 7 gms dried
300 ml tepid water
1 tablespoon / 15 ml olive oil
1 tablespoon / 15 ml sea salt
I make my dough in a bread machine – simply put all the ingredients in the machine, the order is not important, put it onto the dough programme, and leave it to it.
If you don’t have one then making it by hand is not complicated.
Sieve the flour into a bowl or onto a board and make a well in the centre.
Measure the water in a jug and add to it the salt, yeast and oil. Stir to mix.
Pour the water mix into the well in the flour and bit by bit mix with the flour.
If you have a dough hook attachment for you mixer you can use this.
Turn the dough onto a floured board if it is not already on one, and knead to mix well for about five minutes.
Put into a bowl that will leave room for growth, cover with cling film, put in a warm draft free place for about an hour or until it has doubled in size.
The dough made in the machine and the hand made are snow at the same stage.
Turn the dough onto a floured board and knead for a couple of minutes. It will lose some of its volume, but don’t worry.
It is now ready to be rolled into pizzas. The size is up to you. If you are feeling up to it you can have go at the twirlIng method used by the professionals. I am rubbish at it, so can offer no advice, I use a rolling pin pastry style and plenty of flour on the work surface to stop it sticking.
 IMG_0232
So to toppings.This is where creativity and imagination can be used, although the choices are much more often down to what is in the store cupboard or in season.
The simplest is to brush the rolled dough with olive oil and then sprinkle with salt.
Add chopped or crushed garlic and you have the best ever garlic bread.
The oil with fresh herbs especially rocket, rosemary or basil. Try the herbs with grated lemon zest to add extra zing.
The topping above is yellow and red peppers stewed in olive oil with garlic and chorizo.
I make Passata in the summer from tomatoes, garlic and courgettes and this is perfect base on pizzas for either seafood, or the Neopolitan mix of black olives, capers, chilli and chopped garlic.
Now we start with the cheese. I love Globe Artichokes sliced thinly and stewed in oil, put onto the pizza base and strewn with grated salty Parmesan.
IMG_0228
A new favourite since the visit to Naples is smoked mozerella and chilli. Here with Parma ham and mushrooms.

IMG_0235 A smearing of tomato, then thin shavings of Pecorino, and fresh Asparagus.

The options are endless and yours to choose. Have fun with them.

Share this:

  • Share on X (Opens in new window) X
  • Share on Facebook (Opens in new window) Facebook
  • Share on WhatsApp (Opens in new window) WhatsApp
  • Email a link to a friend (Opens in new window) Email
Like Loading...

Neopolitan Pizzas

05 Wednesday Jun 2013

Posted by Nevenka in Main Courses, Starters

≈ Leave a comment

Tags

Mozzarella, Naples, Pizza, Provole

IMG_0199Are there any others you may ask? Naples being the home of the pizza, on a recent visit I just had to search out a restaurant preparing the authentic item. With the help of http://www.napoliunplugged.com I found the perfect place right in the centre of the city. Restaurante Sorbillo is not much more than a cafe with a wood burning oven.

IMG_0197They don’t even bother with salad, they just make pizzas very very well. There were five girls in our party, so we started off thinking that three pizzas between us would be plenty, but the combinations of toppings on offer made it impossible to whittle down to so few, so five it was –IMG_0200We had a cheeseless one topped with tomato sauce, capers, anchovies, olives and fresh chopped chillies.

IMG_0205Then the classical Quatro Stagioni – spring being represented by thinly sliced courgettes and fresh basil leaves atop a creamy mozzarella base. Summer was a smearing of tomato sauce and oregano, mozzarella again and salami. Autumn of course was represented by mushrooms and winter was smoked Provole cheese and with with a tomato sauce.

IMG_0201There was four cheeses with ham and basil leaves and no tomato.

We were so busy eating that I didn’t get photos of the final two pizzas to arrive at our table which were a classical Marguerita, tomato, oregano, mozerella and ham, and our favourite pizza which featured  smoked Provole again, there was a base of tomato sauce and fresh chopped chillies, and on top of the cheese cherry tomatoes and ham. In the next post I will show you how to create these pizzas in your own kitchen.

i leave you with some shots of Naples.IMG_02142013-04-04 16.14.00

Share this:

  • Share on X (Opens in new window) X
  • Share on Facebook (Opens in new window) Facebook
  • Share on WhatsApp (Opens in new window) WhatsApp
  • Email a link to a friend (Opens in new window) Email
Like Loading...
← Older posts
Newer posts →

Create a free website or blog at WordPress.com.

Privacy & Cookies: This site uses cookies. By continuing to use this website, you agree to their use.
To find out more, including how to control cookies, see here: Cookie Policy
  • Subscribe Subscribed
    • fincafood
    • Join 103 other subscribers
    • Already have a WordPress.com account? Log in now.
    • fincafood
    • Subscribe Subscribed
    • Sign up
    • Log in
    • Report this content
    • View site in Reader
    • Manage subscriptions
    • Collapse this bar
 

Loading Comments...
 

    %d