Tags
Chestnut flour, chestnut pasta, fresh pasta, Meatballs, minced turkey, muchrooms, oyster mushrooms, Pasta

What to do with half a kilo of minced Turkey given to me by friends who were going away?
I haven’t made chestnut pasta for a good while, which would go very well with the mild gaminess of some little turkey meatballs, nor had I shared the recipe for chestnut pasta with you as I’d thought, so now is the opportunity to do that.
The meatballs don’t need a heavy sauce or a lot of sauce, so a mushroom sauce lightly thickened with goats cheese would be perfect.
Serves 4
The meatballs
500 grams lean minced turkey
1/2 sweet onion – finely chopped
1 large or 2 small cloves of garlic – finely chopped
1 level teaspoon fennel seeds
salt and freshly ground black pepper
olive oil for frying
The sauce
1/2 sweet onion – finely chopped
1 clove garlic – finely chopped
olive oil for frying
100 grams mushrooms – I used oyster mushrooms, but any type of mushroom will be fine – cut into small dice
500 ml chicken or vegetable stock
50 grams creamy goats cheese
salt and freshly ground black pepper
Parmesan cheese to grate on when serving
The pasta
65 grams chestnut flour
35 grams wholemeal spelt flour
1 large egg
pinch of salt
Start by making the pasta.
Mix the flours and salt in a bowl or on a board.
Make a well in the centre and add the lightly beaten egg.
Mix to make a firm but pliable dough. If it’s too dry add a little egg white and if too wet add extra spelt flour.
Using either a pasta rolling machine or a rolling pin, roll the pasta into an oblong, then fold into three, turn it 90 degrees and repeat the rolling and folding following the instructions in my post – the Beginners Guide to Making Fresh Pasta. Then roll the pasta down to the desired thickness, it was number 5 on my pasta machine, and cut into tagliatelle.
Leave to rest on your board while you make the meatballs.
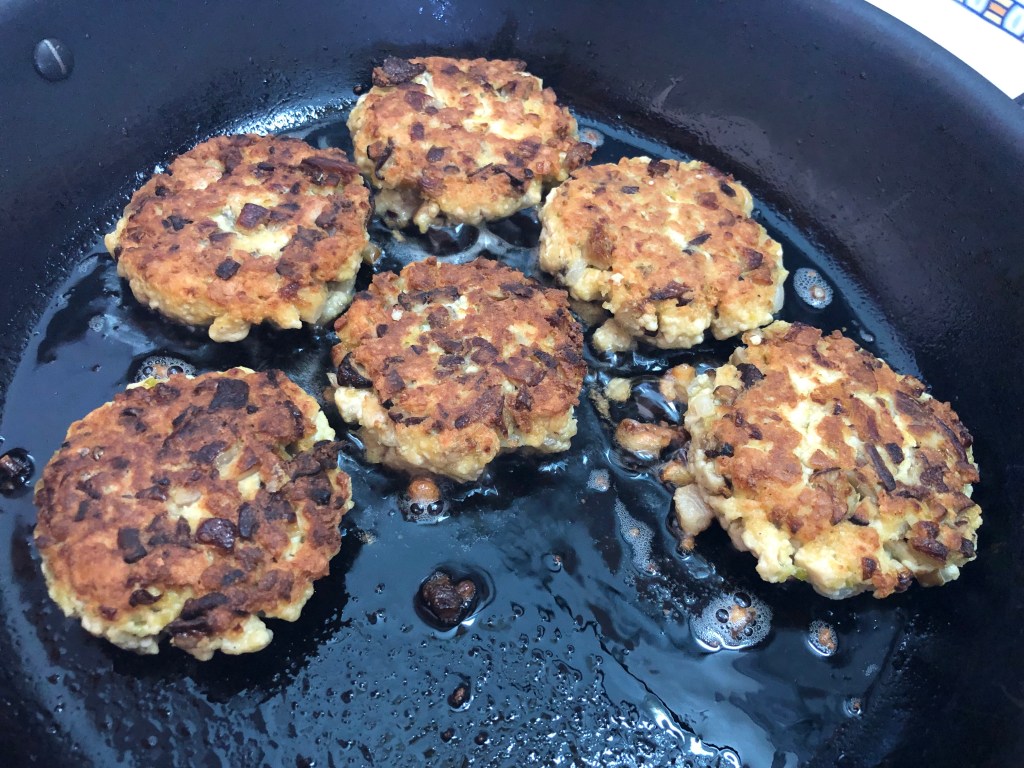
Put the meatball ingredients in a bowl and mix well squeezing the onion and garlic into the minced turkey.
Taking a small spoonful at a time, form the meat mix into balls about the size of a cherry, rolling them between your palms to push the meat into firm balls and lay them out on two trays. If you have lean meat the meatballs will hold together without the need for eggs or breadcrumbs, and you will have a lighter texture to the meatballs. It does mean that the balls are a little more delicate and one has to take care when turning them in the initial cooking.
Once you have all the meatballs ready heat some olive oil in a large frying pan and put in half the meatballs. When they are nicely browned on one side, gently turn them. Keep doing this until they are browned and sealed on all sides.
Remove the meatballs from the pan , and put into a dish on the side.
Add a little more oil to the pan and cook the other half of the meatballs in the same way. Remove these from the pan as well.
Add a little more oil to the pan and put in the onions and garlic for the sauce. Fry for a few minutes .
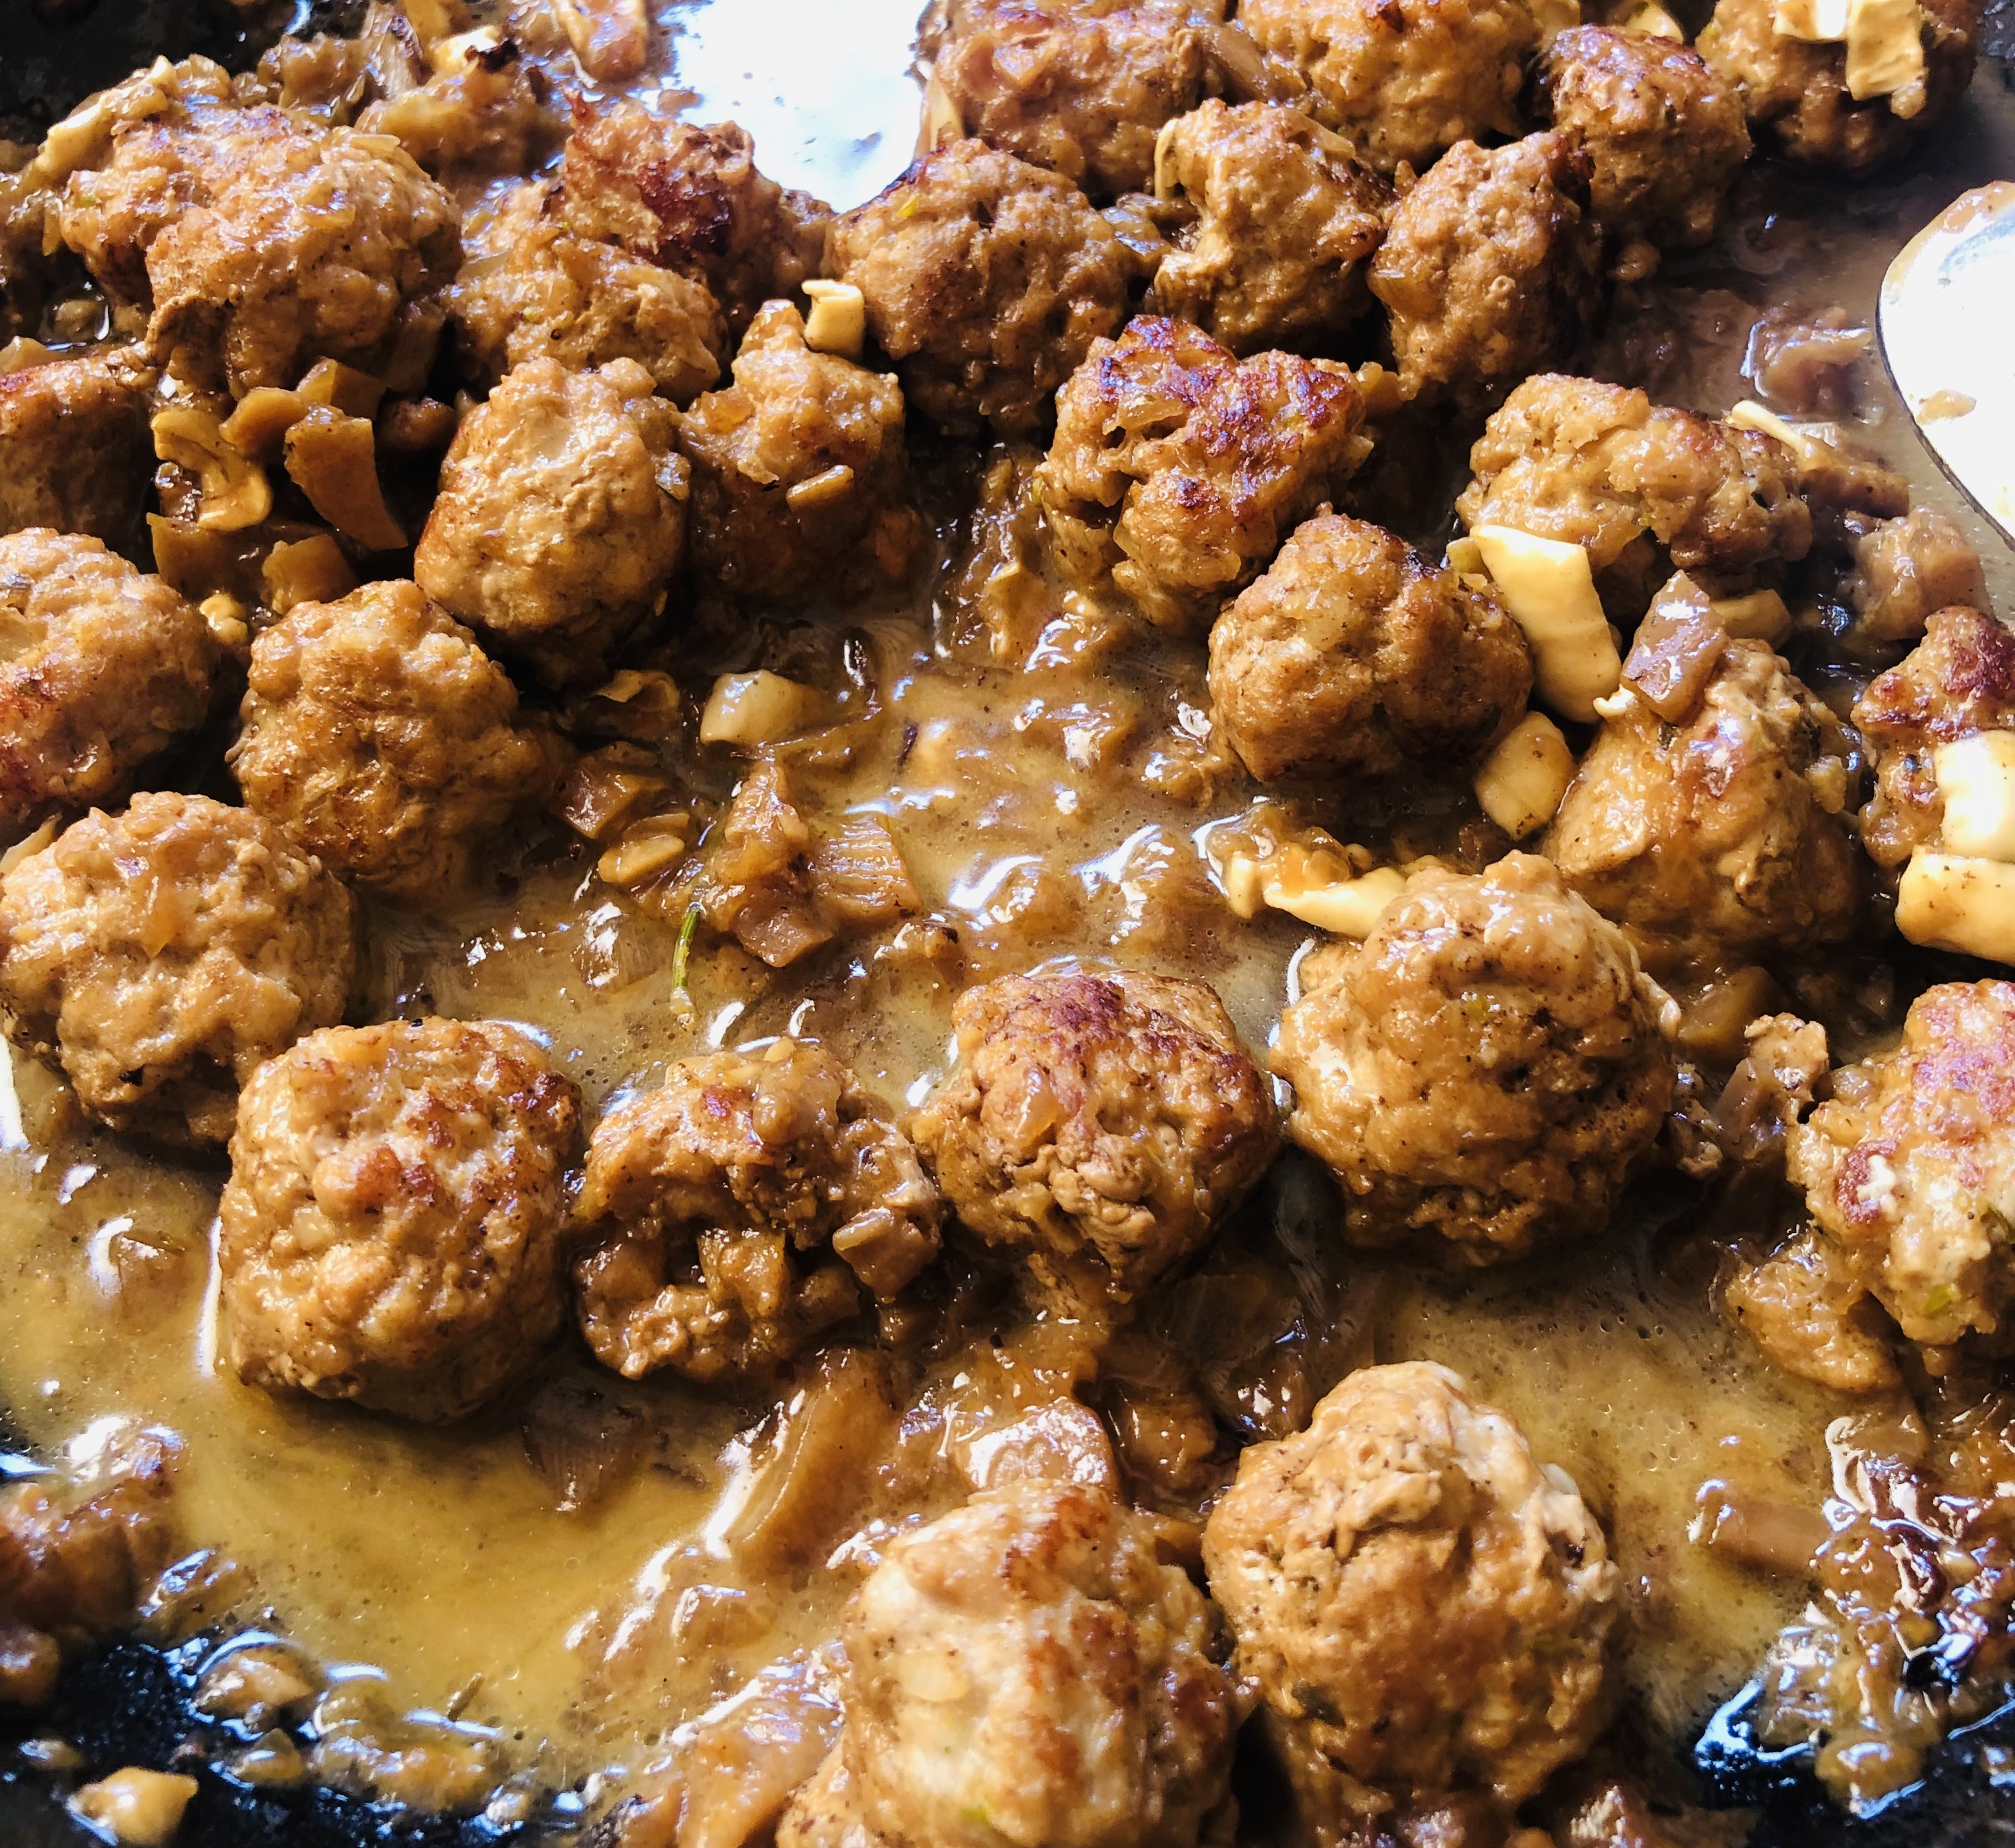
Add the mushrooms, stir to mix and fry to lightly brown them.
Add the stock and heat until the stock is boiling then add the meatballs, turn the heat down to a simmer and leave to cook through for about 7-10 minutes.
Meanwhile bring a pan of salted water to the boil and a cook the pasta for 5-7 minutes. Drain

Cut the goats cheese into small pieces and add to the meatballs to slightly thicken the sauce.
Check the seasoning adding salt and freshly ground black pepper as needed.
Serve the tagliatelle with the meatballs spooned over and grated Parmesan cheese.
Enjoy ❤️