Spring Salads

I know that salads recipes are hardly ground breaking stuff but most of us eat salad on a regular if not daily basis, so here are some ideas to perk up your salad repetoire.

Mixed leaves, goats cheese, warm bacon pieces, walnuts, chives and their flowers.

Puntarelle which is a type of endive where you eat the flower shoots which resemble asparagus, tomatoes and anchovies.

Potato salad made the way my Dad made his and taught me.  New potatoes scraped and sliced, cooked al dente and then dressed while warm with lashings of extra virgen olive oil,  red wine vinegar and slivers of salad onions. Chive flowers to garnish.

A classic Salade Nicoise, but made with grilled fresh tuna, why have tinned when fresh tuna is available. Mixed leaves, tomato, lightly cooked french beans, soft boiled eggs, garlic and almond mayonaise.

Gorgonzola and walnuts atop blanched mange toute peas, grilled asparagus, grilled baby courgettes and their flowers, crunchy lettuce, tomatoes. Dressed with extra virgen olive oil and red wine vinegar.

Tagliatelle with Rabbit and Grilled Spring Vegetables

There is something about grilling or griddling vegetables that really concentrates their flavour, and when you have the first baby vegetables ready in the spring it is the best way to maximise their special flavour. I frequently have just a plate of the mixed vegetables, but today I wanted to make a more substantial main course. For a vegetarian option substitute some mozerella, the proper made with buffalo milk, in my opinion mozerella cannot be made with anything else, for the rabbit.

Per person

20 gms 00 pasta flour

1 large egg yolk

pinch of salt

100 gms rabbit meat

olive oil

small sprig each of fresh oregano and thyme

6 cloves sweet garlic

100 ml chicken stock

Mixture of spring vegetables – a selection of the following –

baby courgettes and their flowers if you have them, green asparagus, sweet onion, baby aubergine, Florence fennel.

For the pasta – put the flour, egg yolk and salt in a small food processor and blend to a dough. Remove from the blender and with floured hands form into a ball. Wrap in cling film and put into the fridge to rest until needed later.

Peel the cloves of garlic. If some are much bigger than others, halve them so that they all cook evenly.

Cut the rabbit into small pieces.

Heat a tablespoon of olive oil in a small frying pan, add the garlic and fry for a couple of minutes. Add the rabbit and continue frying for another 8-10 minutes  stirring from time to time.

Add the chicken stock and the herbs. Stir again to mix in all the brownings from the bottom of the pan. Simmer for 10 minutes. Season the rabbit. If the rabbit is done before the rest of the dish, then turn it off and let it continue slowly cooking in its stock until needed.

Put a pan of water on to heat up for the pasta. Add salt and a dash of olive oil to it.

Prepare the vegetables. Cut the courgettes in half lengthways, slice the onion into thick slices, slice the aubergine. The vegetables are left quite large at this point so that they are quicker to turn over during cooking. Put all the vegetables including the asparagus into a container and smear with olive oil.

Put the vegetables under the grill on a medium heat or on a griddle over a lowish heat. Cook turning every few minutes until the vegetables are browned and cooked but still have some bite. Season with salt.

While the vegetables are cooking, roll the pasta with a pasta machine in the usual way until it is pale and pliable. Then start rolling the pasta thinner until you reach no7 on most machines. Then cut into tagliatelle.

Once the water is boiling, add the pasta and cook for 3-4 minutes until cooked al dente. Drain.

Reheat the rabbit if needed and add the pasta. Remove the vegetables from the grill or griddle and cut into bite sized pieces. Add to the pasta and rabbit and mix well.

If you are making the vegetarian version of this dish, once you have grilled the vegetables and cut them up, then cooked the pasta and drained it, mix the two. Then add mozerella ripped into small pieces, mix in and serve.

Fish Chowder

Tags

,

The garden is so bursting with gorgeous vegetables that it is hard to decide what to cook with first. The potatoes that were planted in January are now all ready, and as there is little that is better than a freshly dug new organic potato, I think that they will have to be included in lunch. Yesterday we had them simply boiled with two dipping sauces. One a garlic mayonaise made with almonds in the place of the egg and the other spicy, a Mojo Picon from the Canary Islands made with picante smoked paprika, vinegar, garlic and olive oil.

But back to today. I love fish and being by the sea there is always a good selection of fresh fish. It is impossible to decide before arriving at the market exactly what will be the best fish on the day. Today I have chosen Marrajo. It is a meaty white fish, most likely from the same family as Swordfish and Shark. The skin is certainly siimilar to both of the above. There are several varieties of the above caught in the Mediterranean Sea, each of which have local names which can vary in places not really very far from one another. A fish can have one name here in the local fishing port of Garrucha, and another in Almeria City which is less than 100 km away.Image

So potatoes, fish, there is some home cured streaky bacon in the larder, fresh onions and some green asparagus. A creamy Fish Chowder will make a light lunch and is easy to cook for one.

FISH CHOWDER

Chowders hail from the Atlantic coast of the United States and are famously made in Maine with clams. There I am sure as many variations as there are cooks, but the elements that have to be included for it to class as a chowder are as follows. Bacon, potatoes, onions, milk or cream, fish or shellfish of some sort. You then add other vegetables depending on what you have and what is in season. Sweet corn being very american, fits extremely well. Peas, asparagus as I have included today, pumpkin or squash cut in small cubes, celeriac cut the same.

I like to use chicken stock as the main cooking liquid and then finish with a bit of cream to enrich the soup, but you can use just milk in place of the stock.Image

Per person

Olive oil

A quarter of an Onion – cut into dice

75 gms Streaky bacon cut into lardons

100-150 gms meaty white fish – I used a type of shark called Marrajo

100 gms potatoes – peeled and cut into dice about 1.5 cm square

150 ml approx chicken stock

6 stems of asparagus

2-3 tablespoons thick fresh cream

salt and pepper

Fresh flat leaved parsley

Blanch the potatoes. Put the cubes in a saucepan with salted water and bring to the boil. Simmer 1 minute and immediately drain.

Warm the olive oil in a shallow saucepan, add the onions and let cook slowly for a couple of minutes until translucent.

Add the bacon and fry for 7-10 minutes stirring from time to time.

Add the stock and the potatoes. Bring to a simmer and cook slowly for another 7-10 minutes until the potatoes are almost done.

Add the fish cut into cubes and the asparagus cut into bite sized pieces.

Cook slowly a few more minutes until the fish is just cooked.

Add salt and pepper and then the cream. As soon as the cream is amalgamated and warm, sprinkle over the freshly chopped parsley and serve.

Loquats or Nispero

Eriobotryia japonica – Loquat in English which comes directly from the Chinese word – or Nispero Japonica in Spanish, nispero being a Japanese word meaning “wooly bunch” as the underside of the leaves have a soft white coating. It is an attractive evergreen tree with large deep green and shiny leaves, musky scented flowers and at this time of the year a profusion of golden fruits. It is also the first stone fruit to ripen after the winter, and for all these reasons it is much planted in here in southern spain.  It is a native of China despite acquiring the japonica in its name, and must have spread to Japan first before slowly making its way to Europe by the late 1700’s. It grows extremely well in the warmer parts of spain especially the Alicante and Almeria provinces.

There are two varieties in my garden, Algerie an early variety that has very sweet yellow fruit which are eaten fresh – these have already all been consumed before the later variety is ready. The fruit on the later variety, Tanaka, is bigger and a bright orange colour and more tart, so is better cooked. Also all the fruit is ready at once and does not keep longer than a day or two so preserving most of it of it is essential. It can be made into a jam, although I think the delicate flavour of the fruit gets lost in the amount of sugar need to preserve it. Also, and this is going to sound contradictory, it makes a good indian style chutney with garlic, chilli, vinegar, spices and sugar. When you have a glut of fruit it is worth sacrificing the delicate flavour to use the tartness and colour in a chutney.

As you can surmise from the photo  birds are rather partial to Nisperos as well as us, so the trees have to be netted before the fruits start to turn yellow,although I have had less of a problem with birds this year as there are currently two cats and two kittens in the household.Loquat TreeThe kittens however can pose a problem themselves…….

Most of my Nisperos get the following treatment to keep them. They are cooked, peeled and stoned and then frozen in portions with their juice. They can then be defrosted as needed to use  in desserts and sauces or just eaten as they are. They are full of vitamins but little sugar so one can feel free to eat a lot of them. One of my favourite recipes in the summer is Nispero Gazpacho which follows, but firstly how to deal with the fruit.

When you pick the fruit, cut the stems rather than break off the fruit as any wound to the fruit will discolour quite quickly. Wash the fruit.

Bring a large pan of water to the boil and then gently put in the Nispero a few at a time. If you have a lot of Nipero cook them in batches so that they come back to the boil fairly rapidly. Bring back to the boil and simmer for five minutes to cook them through to their cores. If they are very large cook an extra minute to be on the safe side.

Take the fruit out of the water and put into plenty of cold water to cool them down rapidly and stop them continuing to cook.

When cool enough, peel them, cut in halves and remove the stems, stones and the inner membrane. They are then ready to use or freeze.

Nispero GazpachoChilled Loquat Summer Soup

per person

half a clove of garlic

pinch of sea salt

10 nisperos prepared as above

1 tablespoon olive oil – good fruity extra virgen

Put the garlic and salt in a blender or food processor and blitz until chopped.

Add the nispero and olive oil and blend until you have a smooth creamy soup. Check seasonings and add more salt or oil if you think it is needed.

This soup is so refreshing on a hot summers day and can be made with other fruits. Cherries when in season work very well, there is no need to blanch them just cut them fresh into the blender. The same with water melon which when blended with olive oil turns a lovely coral colour.

If you have enjoyed reading this post then click on the “follow” button at the top  or bottom of the page, enter your e-mail address and you will automatically be notified when I publish a new post. Nevenka x

Broad Bean Risotto

While I have been away on my travels the vegetable garden has been very busy and is overflowing with Mange-toute Peas, Broad Beans, Asparagus and Loquats amongst other things. I will talk about the Loquats later. Lets talk about broad beans today.

Normally I pick the beans when they are small and very tender, but of course in my absence they have matured into big beans. Still very useable, but they just need a bit more work to remove the skin from each individual bean once they have been removed from their pods.

BROAD BEAN RISOTTO 

Per person-

beans – shelled and skin removed if tough – 80 gms

risotto rice – 30 gms

butter – 15 gms

onion – finely chopped – 1 tbsp

raw ham – parma,  serrano, bayonne – 40 gms

light stock – 150-200 ml

white wine – 40 ml

sea salt and freshly ground black pepper

If you grow your own beans then this dish is ideal if you have a mixture of small tender beans and more mature ones with floury flesh. If this is the case then prepare the beans separately.

The small tender ones just want to go into a saucepan with a little of the butter. Put them on a low heat and swirl around until they are bright green. Add a small amount of water to go half the way up the beans, cover and cook for a couple of minutes until half cooked. Remove from the pan and put to one side until later.

The large beans will need their skin removed from each individual bean, then treat in the same way as the tender ones, but cook a little longer until they are  mashable. Mash them into a rough pulp with their cooking liquid. They don’t want to be a smooth puree, this is a rustic dish after all.

If you only have large beans then cook them all together as above but now divide them in two and mash half. Put them separately to one side until later.

Fry the onion in butter until transparent. Add the ham cut into small strips, stir and cook for a minute.

Add the rice and stir to coat in the butter. Cook for a minute or two for the rice to absorb the butter a little.

Pour in the wine and let it bubble away for a couple of minutes.

Add the mashed beans to the pan and then enough of the stock to cover all the contents of the pan by about a centimetre. Cover and leave to cook slowly for 5-7 minutes.

Check the pan and add more stock if necessary. Add the rest of the beans and stir them in. Season with salt and pepper.

Continue cooking until the rice and beans are done. Add more stock as the risotto cooks if you think it is needed. As you know you are aiming for a wet texture but not a soupy one, so add stock in small amounts if you are unfamiliar with the rice that you are using or are not experienced at making risottos.

Serve sprinkled with ricotta or another fresh sheeps cheese.

Image

Eat with your eyes. In Paris……..

Click on the small images to enlarge them.

Fish Cous Cous and Chard with Pine Nuts and Golden Raisins

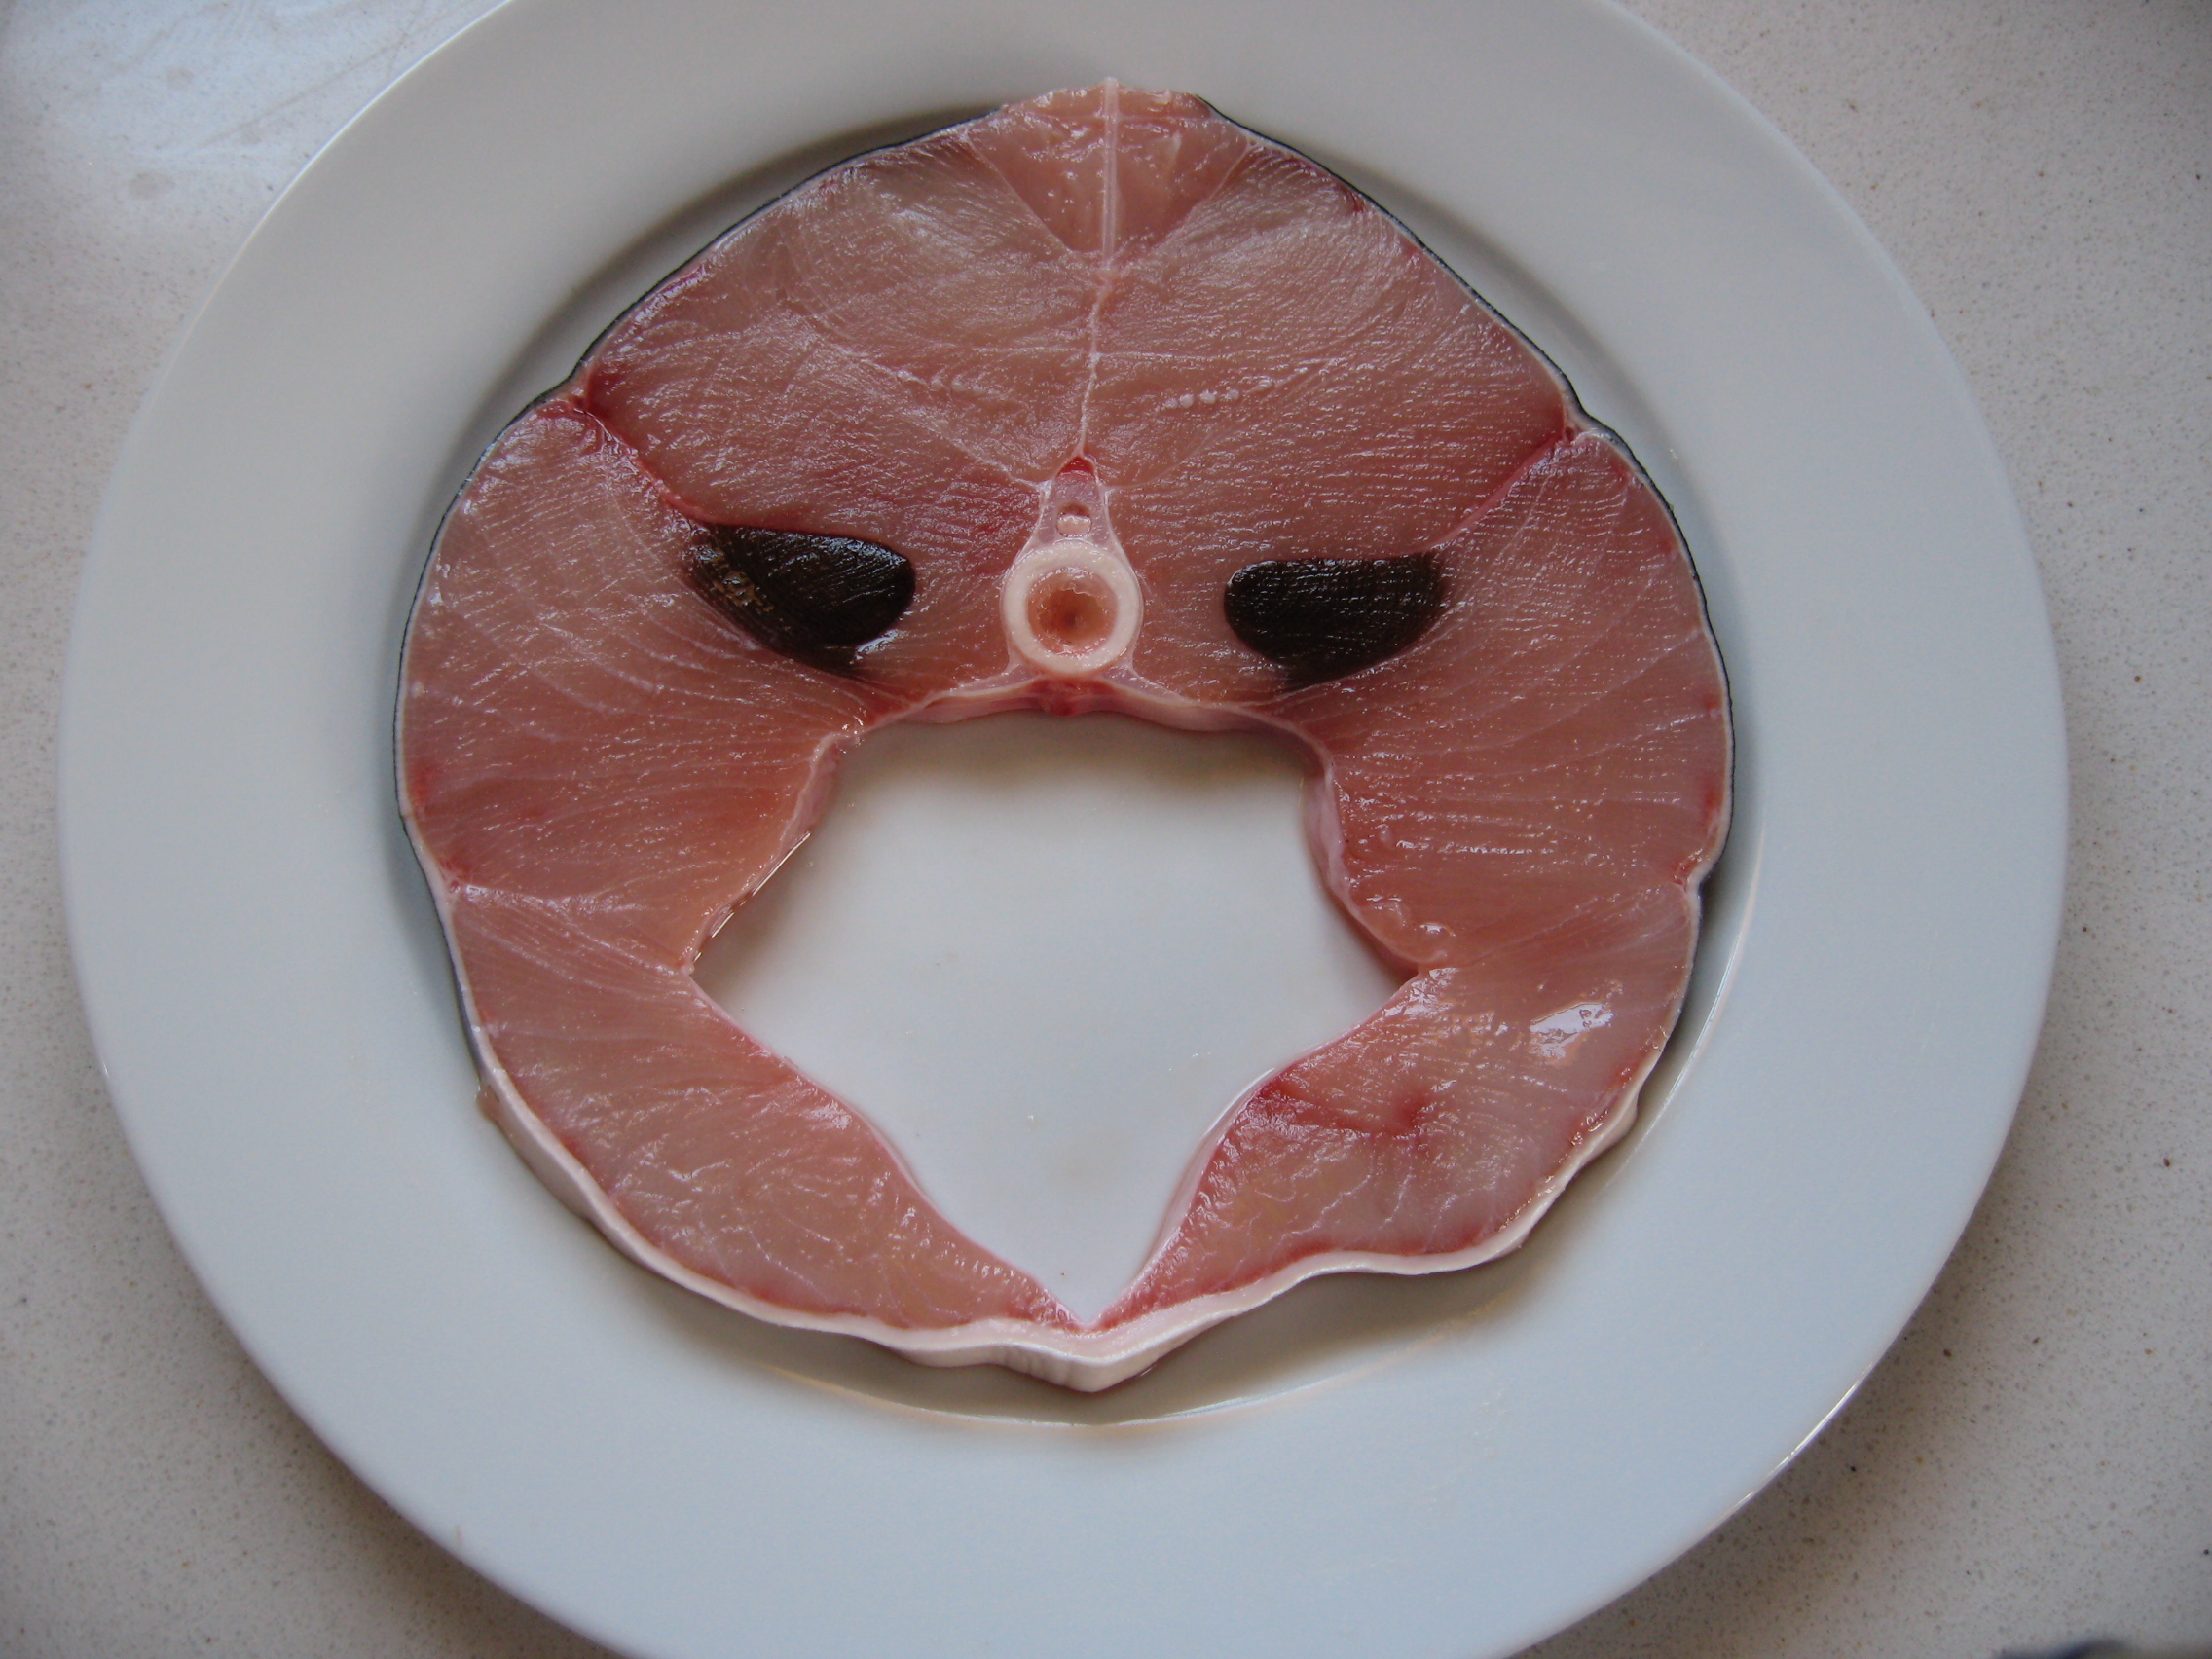
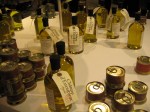
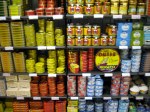
I have bought from my favourite stall in the local market a gorgeous chunk of skate. It has obviously come from a very large fish and looks really meaty – meaty enough to make me think of pairing it with some spices. The current best seller in my farm shop is Salt and Sweet Preserved Limes flavoured with fenugreek, mustard and star anise. It will be perfect to flavour the fish. The natural next step in the thought process is to think of the salted lemons of Morocco, and then to think of the cous cous that such dishes are usually served with. Although it is not mentioned in the recipe and is entirely optional, I threw in a handful of samphire.

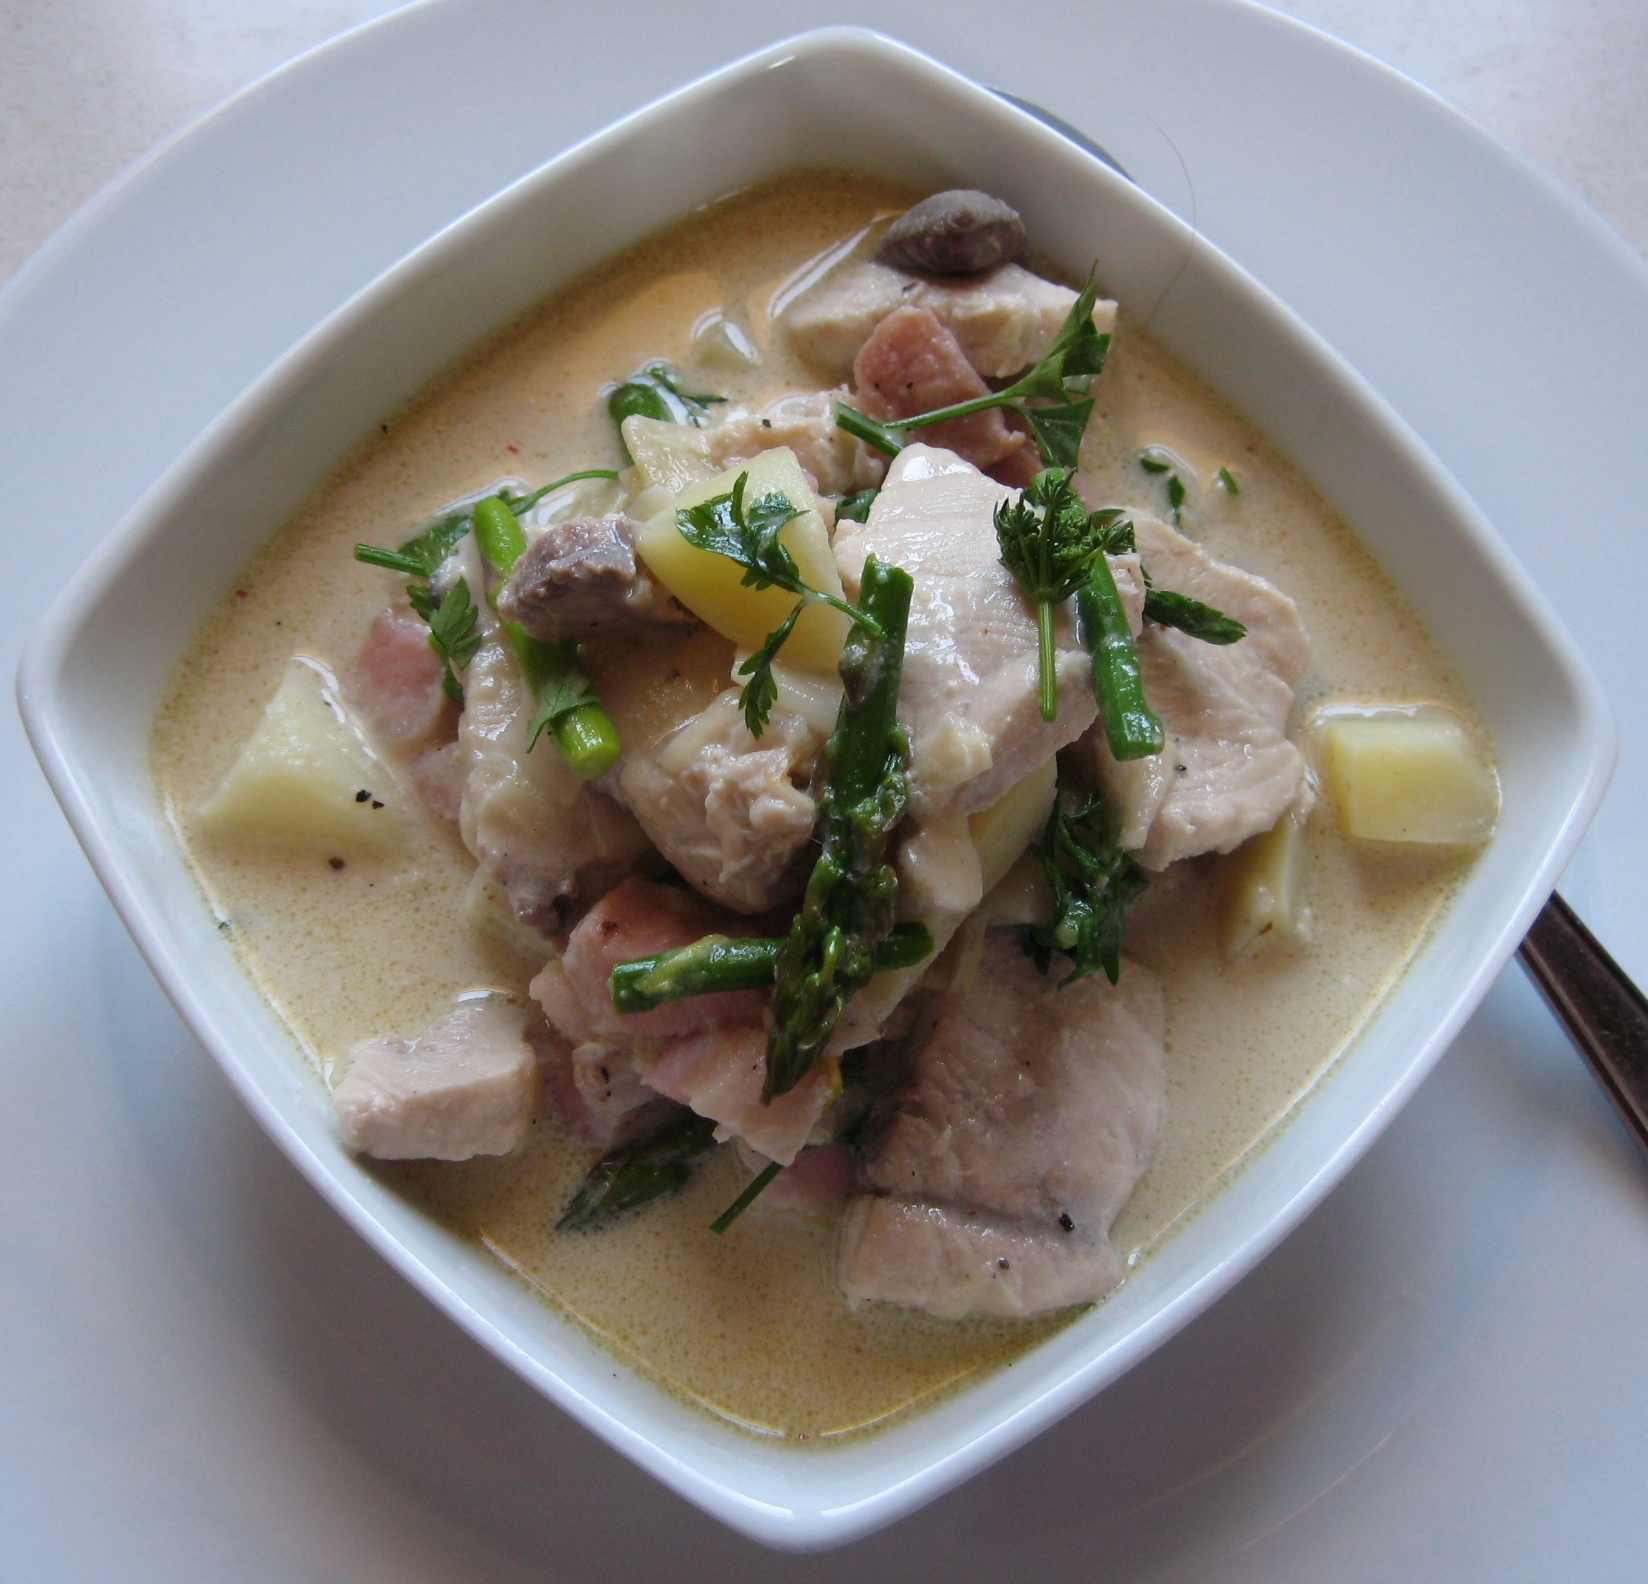
FISH COUS COUS WITH SALT & SWEET LIMES

Cous cous – medium ground

Olive oil

1 clove garlic or a stick of spring garlic

120 gms fish per person – a meaty white fish such as swordfish or shark.

1 salt and sweet preserved lime per person

Fresh coriander and parsley – finely chopped

Firstly put the kettle on to boil.

Weigh out the cous cous – 25 gms per person if you are exercising portion control – 50 gms per person if they are very hungry – or somewhere between the two for a normal appetite.

Put the cous cous into a plastic container into which it fits without being shallow. If I am making cous cous just for myself, I have a small beaker that I use. If I am making for four or more people I have a plastic rice cooker for the microwave that does the job. Pour in enough boiling water to cover the cous cous by about a centimeter. Cover and leave to swell for 15 to 20 minutes.

Heat a shallow pan and add some olive oil. When hot add the garlic, stir and cook until slightly browned.

Cut the fish into chunks. Add to the pan and cover. Cook a few minutes. Stir and then leave to cook a couple more minutes.

Chop up the lime, in big chunks if you like a strong blast of lime or smaller if you want the flavour to be more amalgamated. Add to the fish. Cook a minute for the flavours to blend. Be careful that the fish is not overcooked. It is difficult to be precise as every variety of fish cooks differently.

Add the cous cous and the herbs. Again cook a minute to blend the flavours.

Serve with Harissa on the side and Acelgas con Pasas y Pinones………

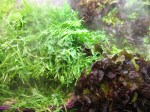
Chard, or Acelgas in spanish, is grown in this part of spain in place of spinach. It suits much better the soil and the climate here. For the home grower it has the advantage of cropping over a very long period, in fact the plants that I am trimming for this recipe were planted a year ago. This recipe is incredibly simple, but the sum of the flavours is greater than the parts.

ACELGAS CON PASAS Y PINONES – Swiss chard with pine nuts and raisins

In a heavy based shallow pan toast the pine nuts over a low heat, shaking from time to time to turn until they are an even golden brown. Empty them onto a plate until later.

Wash the chard thoroughly. Discard the tough white stems. Finely chop the green leaves.

Once the pine nuts have been removed from their pan, add some olive oil to the pan back on a low heat. Add the chard, cover and leave to wilt for a couple of minutes.

Stir, season with salt, add the raisins. Cover and cook a couple more minutes. Add the pine nuts, stir again and cook again for another two minutes.

Turn off the heat and leave to slowly finish cooking in the residual heat for a further five minutes.

Spring Planting Part 1 – Water

The area of southern Spain where I have my farm has be designated the only official desert in Europe. So how do we manage to grow anything apart from cactus and agaves? It is all to do with forward planning and organisation that goes back centuries.

One of the first things that you ask when looking to purchase agricultural land here is – has it got water? This may mean is there a well on the land, or do you have rights to access water from a spring, or does water arrive though one of the many small co-operatives that have been set up to provide water to a group of growers.

If the case is that there is water on the land it is usually extracted by a deep well being dug and then the water is pumped out. So you then want to know how deep the well is – the deeper the well the higher the potential costs of upkeep. How much water per second comes out of the well – this is an indication of how much water in total is likely to be down there – you do not want to be running dry in the middle of summer just when you need it the most.  The last question then is about the quality of the water – in this area much of the land was once under the sea, so there is salt  in varying strengths in the earth and the water. Plus being close to the sea the sea water can seep into natural underground water depoisits. Depending on what you wish to grow, a certain amount of salt is not necessarliy the end of the world. If I remember correctly tomatoes and citrus will tolerate up to 3% salt while olives will tolerate up to 7%.

The same questions apply if there is a spring. I have never ceased to be amazed at how the geology here will make a spring appear quite high up a mountain, while lower down it is totally arid.

For me my water arrives via the third option, a non profit making co-operative. Between us we own several springs, a desalination plant, have shares in the local reservoir and also shares in the pipelines that transport water from the wetter north. While to produce good water from the desalination plant is expensive there are two advantages to having it. One is that we can sell some of the water at a profit for household use, the proceeds of which then go back in the kitty to keep maintenance costs down, and the other is that as it is so clean it can be mixed with less good water from some of the wells enabling that to be used. In the old days the water would be sent down an “asequia” a channel built in stone with gates at intervals to guide the water into the desired direction. Some of these date back to the time when the Moors lived in spain and the system was indeed designed by them. Nowadays much of these channels have been replaced by plastic piping which loses a lot less water and delivers cleaner water. It is then stored in your water depoisit, either a “balsa” which is open to the elements, or an “aljibe” which is an underground tank.

I have the underground option and mine holds about 50 cubic metres which is 50,000 litres. It sounds like a lot, but when there are 400 lime trees, 20 olive trees, 20 orange and celmentine trees, another 40 trees of various fruits and nuts, plus vegetable and ornamental gardens all needing irrigation, it is not so much. Everything on the land is irrigated. Some plants need more water than others and at different times of the year, so you need the land dividing into different zones with a programmer to control the pump that can cope with the number of zones that you have.  Then each zone can be manually subdivided by having taps on the feeder pipes that you can turn on and off. This is especially needed in the vegetable garden where there are times in the year where parts are not planted up. If all this sounds complicated, it is, at least the setting up of such a system is, but it is worth all the effort to have a system that works well for you and is flexible. As every piece of land that is cultivated here has an irrigation system the parts needed to set one up are very reasonable to buy, and there are plenty of firms that supply the systems, pumps and any advice needed.

Keeping it simple

Tags

, , , ,

I am busy in the office doing the accounts today, which I have to admit is not my favourite job. I need a simple but exciting lunch to look forward to. Luckily for me I have some wonderful ingredients at my disposal.

As well as the Samphire and Ice Plant featured in the previous post, I have in the herb garden some lovely salads. Peppery Rocket. Puntarelle, which is a version of endive of which you eat the slightly bitter asparagus like shoots. Buda Chicory which has crisp curly leaves that are paler and crisper in the centre. Fragrant Coriander.

A salad of these leaves only needs the addition of some fresh and fruity olive oil, a good quality red wine vinegar and some shavings of mature firm sheeps cheese.

For the protein, a tender veal steak. To cook this to perfection you need a good pan with a thick base so that you can get it hot and when you put in the steak there is enough heat stored in the metal of the pan to sear well the steak.

The steak is to be seasoned simply with sea salt, freshly ground black pepper, fresh rosemary and lemon.

Pick the rosemary from the tender ends of the branches. Wash it and cut it up fairly finely. Pick a lemon, wash it and cut it in half ready to use.

Heat the pan. When it is hot pour in a little olive oil. Sprinkle coarse sea salt, pepper and rosemary on one side of the steak. Put the steak in them pan with the seasoned side down. Let cook about four or five minutes. While it is cooking season the other side. Turn over and cook on the other side, again for four or five minutes.

Remember that veal steaks need a bit more cooking than a mature steak. I like my beefsteak cooked very rare, but veal is more succulent cooked to medium rare.

Deglaze the pan with a splash of lemon, then get your steak on the plate while it is hot.