The Butchers Art

andres_garcia_ibanez_cerdaLast week I was in London where I was treated to a course on pork butchery at The Ginger Pig. Then this week I visited the gallery of Andres Garcia Ibanez, one of Spains foremost contemporary artists, who has recently added a selection of paintings from his series Naturalezas Muertas to the anthology of his works.andres_garcia_ibanez_cabeza_y_trozos_de_cabritoThe gallery in Olula Del Rio is where the artist has his house and studio, is a little cultural oasis in this very rural part of spain. Although I have included here as a tempter for you, two of his meat pictures, being a blog about food, any of out of his recent series of portraits was what I wanted to take home and look at for a long period of time. If you are in the vicinity, go and have a look.

On to the real flesh and blood and my date with a pig. Half a pig to be exact.

The roast in the final picture was treat for us after we had done lots of tiring sawing, cutting, chining and tying of pieces of pork.

The course was very good. They are not trying to turn you into a master butcher in three hours, but to have you come away with a much better understanding of which cuts come from which part of the animal, and what the best use of those cuts would be. On top of that they give you a roast dinner of their excellent pork featuring the best crackling that I have ever had, and I am not normally a crackling fan, and a good joint to take home and cook yourself. Highly recommended.

Mediterranean Fish Soup with Rouille & Aliolli

The promised fish soup recipe. The only specialist bit of equipment needed to make this is a Mouli for straining the soup. You can use a sieve but a Mouli makes it much less work and gets more of the flesh of the fish and hence more flavour into the soup. It is a very useful bit of equipment for all soups especially Gazpacho Andaluz and not expensive to furnish yourself with. I have found that the cheaper plastic ones, while not looking so smart hanging in the kitchen, actually work much better than the all metal.

For 8

The body and head of a skate, cut into 3 or 4 pieces

10 large prawns

4 cloves of garlic sliced

Half and onion sliced

Either 250 ml Passata – home made being best, or 250 ml Tomato Frito, or Standard sized tin of chopped plum tomatoes plus 3-4 tablespoons of tomato puree.

The cooking liquid from the skate wings from the previous post if you have done that.

Salt & Freshly ground black pepper

Peel the prawns and put the heads and skins in a pan with the cooking liquid from the skate wings if you have that, otherwise with enough water to cover. Bring to the boil and simmer for ten minutes.

Strain this stock and add to a large pan containing the pieces of skate body, the garlic, and the onion. Add more water to cover the ingredients and bring to the boil. Simmer for half an hour.

Let cool and strain through the coarse blade of the mouli making sure that you get as much of the fish flesh in the soup as you can. It will look a bit grey and unappetising at this point, but do not worry the tomatoes will transform it into a gorgeous red puree.

Return to the pan with whichever version of tomatoes that you are using and reheat. Cook for five minutes. Check seasoning. I have left this until this stage because some of the Passata and Tomato Frito in the shops has a high salt content so you can allow for this at this stage.

Add the chopped prawns to the soup and simmer a minute or two more. Serve with Rouille and Aliolli to stir in to taste.making_authentic_aliolli

I have given you already the recipe for Aloilli made like a mayonaise with eggs. This is  the simpler version using just garlic and olive oil. Put three cloves of garlic in the mortar with a good pinch of salt. Pound to a paste.

Have the olive oil at room temperature. Add a drizzle at a time, pounding well between the drizzles until you have a thick paste. For this condiment I added about 40 ml of oil as I wanted the garlic flavour to be strong, but for an eggless mayonaise keep adding the oil until you have a mayonaise consistency. You should be able to add about 150 ml of oil.aliolli_eggless

Rouille is a spicy condiment made with red chillis and seasonings, but you can easily substitute Harissa the Moroccan Chilli paste. I improvised mine by blending together some roasted red peppers from the freezer with fresh green chilli from the garden and a little olive oil and salt.

Skate Wings with Caper Sauce

I have been on my travels in recent weeks and whenever I am away from my home in southern Spain there are two things that always miss – the quality of the fresh fruit – and fresh fish. So on my return from my latest trip I hot-footed it to my local market to see what fish looked good. It is the season now for Bonito which is a variety related to Tuna, and that looked really good and fresh, but what really caught the attention of my mental taste buds was the Skate.

You could have the skinned wings only, or at a more economical price the whole fish. In these straightened times I thought you would like to know how to deal with the whole fish, from which there were two portions of a wing each, the body made enough soup for eight,  and there were a couple of meals for the cats as well – all for less than 4€!

Skate has no scales, but the skin feels a little slimy and it has some sharp barbs around its head area, so rubber gloves are essential for handling it. Firstly wash it, and then put it on a board and cut off the wings. Remove the guts from the body and give to a grateful cat. Cut the body into three or four pieces for making into soup. The recipe will be in next post.skate_wingAs I mentioned above the fishmonger will skin the skate wings for you, but I prefer to cook them with the skin on as the skate cooks so quickly that it is too easy to overcook them if they are already skinned. Once cooked the skin peels off very easily.

To cook the wing put it in a pan with some sliced onion, a sliced clove of garlic and a pinch of salt. Put in enough water to just cover the fish. Put the pan over a medium heat and bring slowly to a simmer. If you want you can add sliced potatoes at this stage to cook with the fish. For a wing the size above – it is pictured on a standard sized dinner plate – simmer for seven minutes.

Prepare the sauce. In a small saucepan put about 20 gms butter, the juice of half a lemon and dessertspoon of chopped capers. Leave on one side until you are ready for it.

Remove the fish to a warmed plate. You can leave your potatoes cooking with the onions while you skin the fish. Put the sauce on a very gentle heat. Starting from the thicker side of the fish using a smooth bladed knife gently push the skin away from the flesh and then slide it off the plate. Turn the fish over and do the same the other side. The darker side of the wing always has tougher and thicker skin than the pale side.removing_the_skin_from_a_skate_wingKeep an eye on your sauce and stir it or swirl it around from time to time. You do not want the butter to melt entirely, just enough to mix with the lemon and capers, and then remove it from the heat.skate_with_caper_sauce

Transfer the fish to a clean warm plate. Drain the potatoes reserving the liquid to go towards the soup, and put the potatoes on the plate with the fish. Pour over the sauce. Season well with lots of freshly ground black pepper and serve.

I will continue with the fish soup recipe tomorrow.

Spanish Style Liver

I actually bought liver this week to recook the recipe in the previous post so that I could retake the picture of it without the camera shake, but on the day I didn’t fancy eating that, I fancied something more spicy. The liver was already cut into lovely thin escalopes perfect for cooking it the way that the locals here like it.

The liver is cooked simply with garlic and then the pan juices are seasoned with the Pimenton that is so popular here and with wine vinegar. The most prized Pimenton in Spain comes from La Vera in Estremadura where the peppers are dried over oak fires before being ground. This drying gives the Pimenton its distinctive smokey taste. It comes in Dulce – Sweet, Picante – Spicy and Agri-Dulce – Sweet and Sour. For this recipe I like to use a mixture of the Dulce and Picante.

So for one person peel and slice 3 large cloves of garlic and put the slices to fry gently in a shallow pan with some good olive oil.

Season the slices of liver with salt and freshly ground black pepper, and once the garlic starts to colour, add the slices to the pan. Cook gently for five minutes and then turn over and cook for five minutes on the other side.

Remove the liver to a warm plate and keep warm.

Add to the pan juices a good large pinch of sweet Smoked Pimenton and a pinch of the spicy. Stir this round for a minute and then add a couple of tablespoons of red wine or sherry vinegar. Swirl this around the pan over the heat to collect up all the juices and immediately pour it over the liver.

I served my liver with the baby courgettes that are so sweet straight from the garden and then grilled after being annointed with garlic and oil, and a little mashed potatoes.

Tapas Lunch – for my friends in St Gervais Les Bains

Tags

, , , , ,

While I was in St Gervais I wanted to treat my friends there to a little taste of Spain so decide to prepare a lunch of tapas dishes. This is what we had –

A little glass of Apricot Gazpacho.

I had planned to use Black Cherries for this and had bought some as well as the Apricots, but on trying the apricots they were quite tart to say the least so I swapped for them. See the Nispero Gazpacho post for the master recipe.  There is no need to blanch the apricots, I just needed to add some water to the soup as the puree came out quite thick. And don’t forget to chill the glasses – the condensation on the glass looks pretty as well as keeping the soup well chilled.

Sobresada on ToastsImage

The Sobresada is bought ready made all over Spain, it is almost like a Chorizo rillette if that makes sense. It is pork meat and fat beaten to a paste and flavoured with the same Pimenton and garlic flavourings as Chorizo. You spread it thickly onto stale bread and then bake in a medium oven -160 centigrade – for ten minutes. Sprinkle over some capers if you have them and serve.

Ensaladilla Rusa

Russian Salad – Spanish style. Small diced Boiled potatoes, Garlic Mayonaise or Aliolli, a small tin of Tuna, chopped Green Olives and Gerkins, Green Beans boiled and chopped finely or Sweet Peas all mixed well together. You want to add enough mayonaise to get a smooth consistency – some Spanish cooks mash part of the potatoes to add to the smoothness. The ideas is to get the salad to hold together on top of a piece of bread.

Revuelto De Setas

Revueltos are soft scrambled eggs that hold together whatever is in season. They are also made with Asparagus and Prawns, Spring Garlics, Peppers – the famous Piperrada, Salt Cod……….the list goes on.In good olive oil, fry a couple of cloves of garlic cut small. When slightly golden add the mushrooms – whichever variety you have to hand, stir, cover and stew until cooked. Break the eggs into a bowl, stir to break up the yolks and season. When the mushrooms are cooked add them to the eggs and mix well. Add more oil to the cooking pan, return the egg mix to the pan and cook slowly until just setting. Serve immediately.

Morcilla con Ajos Image

Morcilla is the Spanish version of Black Pudding and there are as many versions of it as chefs who make it. In my area of spain it is flavoured with Pine Nuts and little Anis. One can have it sweet or slightly spicy.Cut it up and roast it with whole cloves of garlic in a medium oven for half an hour.

Liver with PeppersImage

There are two keys to getting this right. The first is to make sure that you fry the onions and peppers long enough that they are starting to caramelise around the edges, and the second is not to overcook the liver. Bear in mind that liver even though it is cooked enough will ooze pink juices like a steak and like a steak if you find that it is undercooked it can always go back to the pan for a few more minutes.

Fry in olive oil a finely chopped onion and a chopped red and yellow pepper. Fry on a medium heat stirring from time to time until the vegetables are well cooked and starting to caramelise.

Meanwhile cut pigs liver into bite sized pieces. Season well with salt and freshly ground black pepper. liver_with_peppers

When the vegetables are cooked add the liver and stir to mix. Season with more freshly ground black pepper. Stir again. As soon as the liver is just cooked, serve. Then try to take a photo without camera shake!

Mixed Salad with Oil and Red Wine Vinegar Dressing

And to finish my friend Conny made a Bizcocho de Tres Leches – Cake of Three Milks – I will leave you to search for the recipe for yourselves. It was wonderfully light and creamy – and so pretty !bizcocho_de_tres_leches

Spring Planting Part 2 – Soil

Image

My farm is only 7 kilometers from the Mediterranean Sea, which climatically frees us from the extremes of temperatures that can exist inland, and gives us lovely sea breezes every afternoon. But for the land, the sea has left some unwelcome traces. At several times in the past, what is now my farm was seabed. Before the containing wall was built to stop corroding of the 6 metre high bank on the west boundary of the farm, one could see two distinct deposits of sea shells. These were separated by layers of alluvial silt.

So the soil is a heavy fine clay that becomes easily compacted and has areas with a high concentration of salt.

The salt is more of a problem than the clay. With the addition of lots of organic matter and some serious deep digging, the clay soil can be improved. There is always a problem with drainage and you learn fast not to try to do any work at all after a good amount of rain. I have been so stuck in the wet soil that it took two male friends and a rope to pull me out!

With a good amount of the irrigation water used here coming out of deep wells, this water generally contains some salt, add that to soil with salt residues and it limits the plants that you can cultivate. The technical experts in this area can tell at a glance the concentration of salt in the land by the wild plants that grow on it. When we bought the farm, our first plan was to plant vines and make wine, and with that in mind we built a beautiful wine cellar, but on analysing the soil and finding the levels of salts too high for vines we realised that this was a dream that would not become reality.

For growing vegetables one can pamper some small areas of the land, but for a big crop you have to go with what the land can support. Citrus will tolerate a small amount of salt in the land and the irrigation water, and olives will tolerate a slightly higher concentration. So we decided that for our main crop we would go with citrus, but as the farm is not so big at 7,000 square metres decided to plant limes which are not traditionally grown here. The price that small farmers in this region get for lemons and oranges is very low, so limes are a more profitable option.

Image

Today though, I want to talk about the pampering that you need to do to successfully grow organic vegetables in this harsh soil and climate.

The first, second and third things that you need to do are dig, dig and dig. Then you add lots of well rotted manure, ash from any bonfires and well rotted compost, and then you dig some more. Investing in a small rotavator helps hugely with the digging.

Before planting any vegetables the land has to be shaped into furrows with a v at the top along which will run the irrigation pipe. As I said in Spring Planting Part 1 – Water, everything in the garden here has to be irrigated. There are several reasons that the vegetables have to be grown in furrows apart from not wasting the irrigation water and they are all to do with the combination of soil and weather that we have. Image

When we do get rain here, it often is a heavy deluge rather than light gentle rain. When this deluge beats down on the heavy clay soil it compacts it and sits on top of the soil, waterlogging it. Then, generally warm weather follows which quickly bakes the clay surface of the soil into a hard crust. If you had your plants in flat land, the soil would see-saw between being waterlogged which would rot the roots of the plant, to being dry and constricting on the roots. All plants need oxygen to be available to their roots, but if the soil is compacted and with a hard crust this denies the plant its oxygen.

So by putting your plants at the top of a furrow you are lifting them out of waterlogged ground and stopping the soil contracting around the roots of them. Also what rain there is collects in the valleys between the furrows and does not get dried by the sun as quickly as it would on flat land so continues to irrigate the plants for longer.

What makes it worth while to overcome the difficulties of the soil here, is the ability to grow vegetables all the year round. Although I have titled this spring planting, in reality I am sowing, planting and harvesting throughout the year. I grow different crops in each season.

In January and late August, potatoes go in, to be cropped in May and December respectively. March is the planting time for courgettes and summer tomatoes which have been started off in small pots in the greenhouse in February. Spring onions and beetroot are sown, and its the harvesting time for asparagus. In May the summer croppers go in. Peppers and chillis, all the squash family, aubergines, okra, purslane, lettuce leaved basil and edible loofahs. Almost all of these have been sown as seedlings in the greenhouse. The conditions here are so tough and the air so dry that seedlings have a very difficult time getting established, not to mention the number of super bugs that proliferate in a warm climate and are constantly looking for a tasty snack, so to give the vegetables the best chance of survival nearly all are started off in a protected environment. I mostly grow my own seedlings but there are lots of small enterprises here that deal in seedlings for the small grower, and the seedlings not at all expensive to buy. These are very useful when either you have had a failure with your own seedlings, usually through rot or greedy bugs eating them, or you have simply forgotten to sow the right thing at the right time.

Image

In august for autumn planting the seedlings are started off in a cool well shaded greenhouse away from the parching summer sun. These are all the plants that are associated with summer sowing in the north of europe. Purple sprouting broccoli – which will sprout the following march, all of the endive family, carrots, peas, beans, cabbages, florence fennel etc. 

In november the onion family go in, the leeks and onions having been started in the greenhouse about six weeks previously. And then the year will start again…….

Mini Chicken Pstilla

Tags

,

I was invited to a lunch last week, and my contribution was to be the “amuse bouche”, a mouthful of something tasty to whet the appetite.  I had been reading one of Claudia Rodens books on middle eastern cooking the night before, and this inspired me to create a dish using the fruit, nut and spice combinations of that area. Also my dish had to be something quick and easy to prepare as the lunch invitation coincided with my day for opening my farm shop – click on the La Micaela Farm Shop at the top of the page for more details.

In the freezer I generally have packs of a local product – Obleas – which are little rounds of pastry a bit thicker than filo pastry. The traditional Spanish filling is a small amount of a thick stew made from fried peppers, garlic, tuna and tomatoes. The rounds are then folded in half to make a semi circle and sealed firmly on the joining edges, then the Empanaditas are deep fried until crisp.chicken_mini_pstilla

For lightness I prefer to brush the pastry circles with oil or butter, put the filling in the centre, fold the pastry upwards and pinch the edges together lightly, and then bake the little parcels. My favourite filling up to doing this one was of crumbly goats cheese and blanched spinach or chard bound together with egg.

MINI CHICKEN PSTILLAS

Filo pastry cut into 10cm squares or Obleas

100 gms cooked or raw lean chicken

small jar aubergine and red pepper salad – see Preserved Salads post for the recipe

50 gms toasted hazelnuts

50 gms golden raisins

a pinch or two of Ras el Hanout spices, or a mix of cumin, coriander, cinnamon and chilli all ground finely

Salt and pepper

olive oil for brushing the pastry

If you have not got cooked chicken and are starting with raw, cut it into small cubes and fry quickly in a small amount of olive oil. If using ready cooked chicken chop it into small cubes about half a centimetre square.

With a pestle and mortar crush the hazelnuts to break them up but not too small.

Put the chicken in a bowl with the nuts, salad and raisins. Season with the spices to taste.

If you have a tin for making miniature muffins or tarts it will be easier to form the little pies.

If you are using filo pastry and it is very thin you may well need to use two layers for your pies. Brush one side of a sheet of pastry with oil, lay another sheet on top and brush this with oil. Cut into squares of roughly 10 centimetres. Turn the two layers of pastry over so that the oily side is to the bottom and gently tuck the centre into one of the indentations in the muffin tin. With a teaspoon fill the pastry cup with the chicken filling. Lift the pastry around the pie and fold over the top of the filling to make a rough lid. Repeat this for each of your little pies.

If you don’t have a muffin tin, then use your hand as a rough cup, lay the pastry on your hand oily side down, put a teaspoon or so of filling in the middle and then bring the pastry up around the filling to cover it. Put the parcels on a baking tray to cook them. They may not look as neat and tidy as the ones cooked in a muffin or tart tray, and you may have the occasional burst, but they will taste just as good.

Cook in a preheated oven at 190 centigrade for 15 minutes or until golden brown and sizzling. Let cool a little before serving.

Preserved Salads

red_pepper_salad

Red Pepper Salad

Waste is one of the biggest crimes of modern times, and particularly food waste. When you have gone to all the trouble of digging, manuring, digging again, then sowing and watering your own vegetables, and nurturing them into maturity, then the last thing you want to do is waste any of them.

No matter how well you plan to grow the amounts of produce that you actually need, there will always be moments when there are surpluses. This method of preserving deals very well with small surpluses. When I started developing these recipes I had an idea in my head of the use I wanted for the resulting preserve. I wanted cooked vegetables that I could use as either salads as part of a mixed starter, or as the topping for crostini or pizzas, or as the base for a pasta sauce. I love those cooked vegetable salads that the Italians serve as part of antipasti. They are cooked al dente retaining a bit of firmness, and are well flavoured with lemon juice, garlic, olive oil and often herbs. Once you get your head around the basic principles of this preservation method and the flavouring you will be able to make your own combinations of ingredients.

Essential equipment for these recipes are jars. I find that as these salads are quite rich containing a large proportion of olive oil I don’t want to use a large amount at once, so save any small jars that come into the house. They need to have a screw top and plastic seal as so many modern jars do. They need to be scrupulously clean and then need sterilizing in a water bath just before use. Don’t be put off by the terminology, they just need to be put in a pan of boiling water with their lids and held there for five minutes.

I am going to start with Aubergine and Red Pepper Salad as this is one of the ingredients that I used in making Mini Chicken Pstilla which is the recipe that I was going to share with you today until I realised that it would be better to give you the salad first. The Pstilla recipe will follow I promise.

AUBERGINE AND RED PEPPER SALADaubergine_and _red_pepper_salad

4 aubergines

4 red peppers

6 large cloves of sweet garlic

300 ml olive oil

large sprig of fresh oregano

lemon juice

sea salt and freshly ground black pepper

Peel and coarsely chop the garlic.

Cut the red pepper into small dice.

Get the pan with the jars and lids on to warm. If you haven’t a pan big enough to take them all, start with as many jars as the pan will take and then you can add more once these are used. Don’t worry if they are ready too soon for the salad, you can always turn off the heat for a while and then reboil when needed.

In a pan large enough to take all the ingredients heat the olive oil slowly on a low heat. When it is warm add the garlic and peppers. Stir to cover with oil.

Cut the aubergines into dice about a centimetre square. Add to the pan. You don’t want to cut the aubergines in advance as they have a tendency to discolour and go brown. Stir to mix in.

Season with a good couple of pinches of salt and the chopped oregano leaves and stir again. Cook slowly for about ten minutes.

We are now getting to the tricky part, which is the amount of cooking. If you don’t cook the vegetables enough, they will ferment in the jar, too much cooking and you have a mush. It is a bit trial and error I am afraid. Start to check how cooked the salad is and add lemon juice and salt and pepper to taste. 

As soon as the salad is cooked turn off the heat. Drain the jars from the water and fill with the salad while the jars are still hot. Asbestos fingers are a help here. The salad wants to come to about half a centimetre from the top of the jar. Make sure that the rim of the jar is clean, so that you have a good tight seal, before putting on the hot lids. Put  the lids on loosely for a minute or two and then tighten up. 

Leave to cool totally before washing the jars and labelling. I always check that the jars are well sealed at this point. If the lids have a nipple in the middle you should have heard this ping as the jars were cooling and it should be concave and pulled in. If there is no nipple the lids should still be slightly concave and tight looking. If they are not then use these jars straight away.

Variations preserved_courgette_salad

Courgette Salad – I made this after returning from a short trip to find that my courgettes had turned into mini-marrows while I was away. Courgettes, peeled and diced, onion chopped small, garlic as above and a couple of peeled and chopped tomatoes. Follow the master recipe above for the method.

Red Pepper Salad – Strips of red peppers slowly stewed in olive oil to just cover and seasoned with salt and lemon juice. Don’t worry about the amount of oil, when you come to use the salad drain off the oil and use it for cooking or salad dressings later.

preserved_artichoke_saladArtichoke Salad – As you clean and prepare the artichokes put them into water to which a good proportion of lemon juice has been added so that they do not discolour. Drain and stew in olive oil to cover. Season with salt – the lemon is already added.

The Beginners Guide to Making Fresh Pasta

I have had requests to give any beginners a step by step guide on how to make fresh pasta as effortlessly as I am able to do.

A question that I am often asked is – is fresh pasta that good that it is worth the effort of making it – and the answer is yes indeed it is. The taste and texture of home made pasta is superior to any manufactured pasta.

Not only that, there are several different recipes of types of pasta for you to choose from as well as the opportunity for you to add flavourings to the pasta as you make it. Rich Egg Pasta which is made with just egg yolks, flour and a pinch of salt. Whole Egg Pasta, which is more like the fresh pasta that one can buy in the supermarket but a much better texture and taste when you make it yourself. Both of the above can be varied by the addition of dry flavourings. Cocoa powder is particularly successful for chocolate pasta to go with rich game sauces. Ground dried mushrooms work well too.

And then there is one which is made with flour and whole egg, with the addition of oil and liquid. The liquid giving you the opportunity to vary the flavour and colour of the pasta with non dry flavourings, so it can be wine, or squid ink for black fish flavoured pasta, a strong prawn stock for a pink fish pasta, fruit juice concentrates give other interesting flavours and colours. The variations are as great as your imagination allows. And this is before we get to considering all the shapes and thicknesses that the pasta can have – Ravioli, Linguine, Tagliatelle, Lasagne, Lasagnete, Canneloni……….

But let’s not get ahead of ourselves, back to the beginning.

Firstly you need to invest in a pasta machine, or dig that gifted one out of the back of the cupboard where it has been left for far too long. There are a huge range available on the internet at a huge range of prices. For a beginner it is best to go for a simple machine that is turned by hand. The speed of the electric ones is a bit too fast for the inexperienced, and really you only need an electric machine if you are regularly making pasta for more than six people. Amongst the hand operated ones, it is useful to have one that has rollers for cutting linguine and tagliatelle, but other than that they are all pretty similar. With the more expensive ones, in my opinion, you are paying the extra money for the brand name and the paint job. My machine which I am very happy with came from Ikea.

A small food processor is a useful although not essential piece of equipment when making pasta, especially if time is short.

The flour. For successful pasta making, a strong flour is required so that you have an elastic dough. If you can get the Italian 00 strong pasta flour, this is the ideal, as not only is it a strong flour to give elasticity, it is very finely ground, so it gives a fine texture that can be rolled very thin. White bread flour would be my second choice. For those of you itching to make wholemeal pasta, the bran in the flour reduces the elasticity and makes the dough more crumbly, so get the hang of making pasta with white flour first and then you can progress onto wholemeal. Standard plain white flour will make pasta, but will need more delicate handling, so to be avoided for the begginer.

Space. As you roll the pasta it will become long strips the width of the pasta machine, so you need a floured surface on which to put these while you are rolling the other strips. So make sure that you have a clear clean space on your work surface or table before you start rolling.

Time. Try out making pasta for the first time when you have an hour or so to dedicate to the operation. Once you get proficient, then you will be able to spend five minutes making the dough, and then a further 10 minutes rolling it out, but to begin with minimise the stress by giving yourself time without distractions to dedicate to the learning of a new skill.

RICH EGG LASAGNETTE

I recommend that for easy handling, that you make the amount for 2 people the first time that you try this.

Per person for a main course, halve the amount for a starter sized portion.

20 gms 00 pasta flour

1 large egg yolk

pinch of salt

If you are using a mini food processor simply put all the ingredients in it and process to a dough. If the dough is very stiff and dry and is not holding together, add a teaspoon of the egg white and pulse. If the dough is still very dry you may have to repeat this operation. The reason that the dough is sometimes the wrong texture is that different flours absorb different amounts of liquid, and of course there is slight variation in the size of a large egg yolk.

If you are mixing the dough by hand, mix the flour and salt, and pour in a heap on a board. Make a well in the centre and drop in the egg yolk. Slowly knead the flour and egg together until you have a firm dough. If the dough is very dry and doesn’t hold together, add egg white as above.

The dough at this stage can be floured and wrapped in cling film and then left to rest in the fridge until needed.pasta_dough

To roll the dough. Firmly attach the pasta machine to the work surface or a table. Flour the worktop around the machine. Make sure that the rollers are on the setting with the widest gap between them. Flour the dough and roll through the rollers turning the handle as you go. You will end up with a long oval of dough. Fold into 3 lengthways, turn 90 degrees and roll again.rolling_pasta rolling_pasta

rolling_pasta

Keep repeating this rolling and folding until the pasta is paler and silkier. With this type of pasta it is between 8 and 10 rollings. If the pasta starts to get crumbly and breaks up a bit, stop the folding and rolling and move on to the next stage.rolling_fresh_pasta

Move the setting of the distance between the rollers one number closer. Roll the dough, lightly dust with flour. Then move one more number and roll again, lightly dust with flour again. Keep moving one setting at a time until the dough is quite thin, number 7 or 8 on my machine. As the strip of pasta gets longer, do cut it into more manageable lengths.fresh_lasagnete

Lasagnette is pasta strips narrower than the lasagna sheets and wider than papardelle, so is easily cut by hand. I cut my wide pasta strips that have come out of the machine into three. The length can be whatever you find manageable, around 20 cms is about it. Do not worry about squaring off any rounded bits at the end of your strips, they will not be noticed when the dish is finished and it is a waste of a good little bit of pasta.

While you are preparing the sauce for the pasta and waiting for the water in which you are going to cook the pasta to come to the boil, you can leave the strips on the floured worktop. If they start to dry out a bit, it doesn’t matter, they will cook up the same. You only need to cover the pasta if you have flies lurking around, in which case just gently lay clean tea towels over it.

For cooking the pasta you need plenty of water that has a little salt and oil added to it. The reason for having a lot of water is so that when the pasta has been added the volume of water will not lose so much heat as a smaller amount and will therefore come back to the boil fairly quickly.

I like to use a pasta pan, which is a tall pan with a steamer type pan with holes in it that fits inside. As the inner pan doesn’t reach the bottom of the outer pan it means that there is always an extra well of water below it, which helps retain the heat and stops the pasta sinking to the hot base of the pan just about the heat and sticking to it. Also when it comes to serving, you do not have to dash across to the sink to drain your pasta, you merely slowly lift out the inner pan sitting it at an angle so that the water drains back into the lower pan. So that when you are ready the pasta is drained and next to the pan with the sauce for transferring to it. So a pasta pan is helpful but not essential.

lasagnete_with_seafood

Lasagnete with Salmon and Prawns

Fresh pasta cooks in only 3-6 minutes depending on the thickness of it, and dries and sticks to itself fairly quickly once it has been drained from its cooking liquid, so always prepare the sauce before putting the pasta in the pan to cook. There are not so many sauces that will spoil by having the heat turned off and being reheated a few minutes later once the pasta is ready to be added. You will generally find that the sauce hardly needs reheating.

A final word on the sauce to go with your pasta. Remember that the sauce wants to be more of a dressing for the pasta than an event in its own right, so restraint on the amount of sauce that you put with the pasta.

tagliatelle_with _grilled_spring_vegetables_and_rabbit

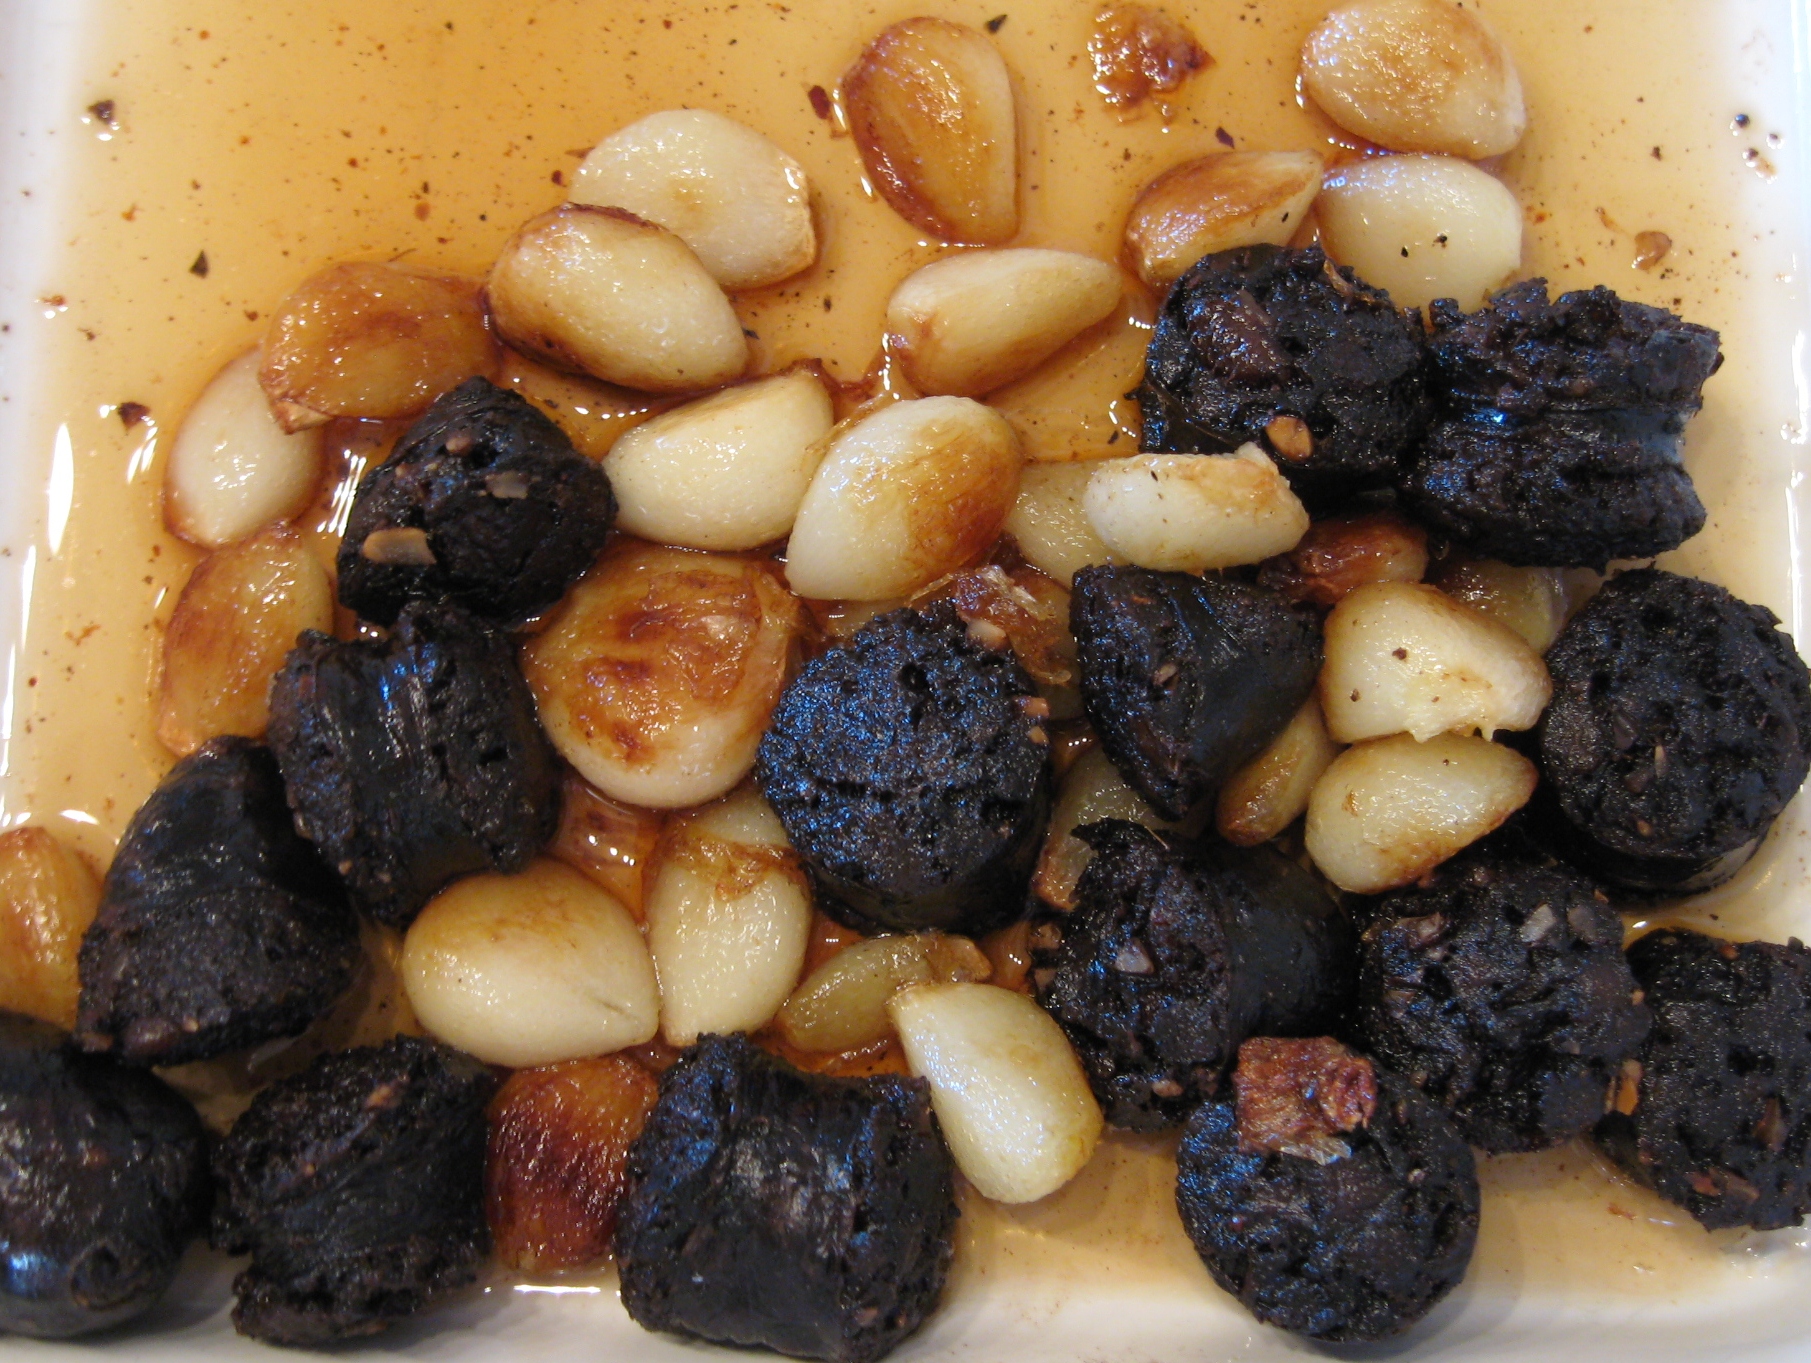
Tagliatelle with Grilled Spring Vegetables and Rabbit